Part 1: Setting Up Azure Resources & SQL Database
Introduction
Data analytics is more than just writing SQL queries—it’s about automating workflows, leveraging cloud resources, and making data pipelines scalable. In this two-part blog series, we’ll explore how to:
- Set up Azure resources (Storage Account, SQL Database) and populate sample data.
- Use Azure Data Factory (ADF) to ingest data into a blob container.
Let’s start with Part 1: Creating Azure Resources & SQL Database.
Step 1: Create an Azure Account
If you don’t have an Azure account, follow these steps:
- Go to Azure Portal.
- Sign up for a free trial (12 months free for select services).
- Once logged in, you’ll see the Azure dashboard.
Step 2: Provision Azure Resources
We’ll create:
- Azure SQL Database (for structured data storage)
- Azure Storage Account (for blob storage)
A. Create an Azure SQL Database
- In the Azure Portal, search for “SQL databases” → Click “Create”.
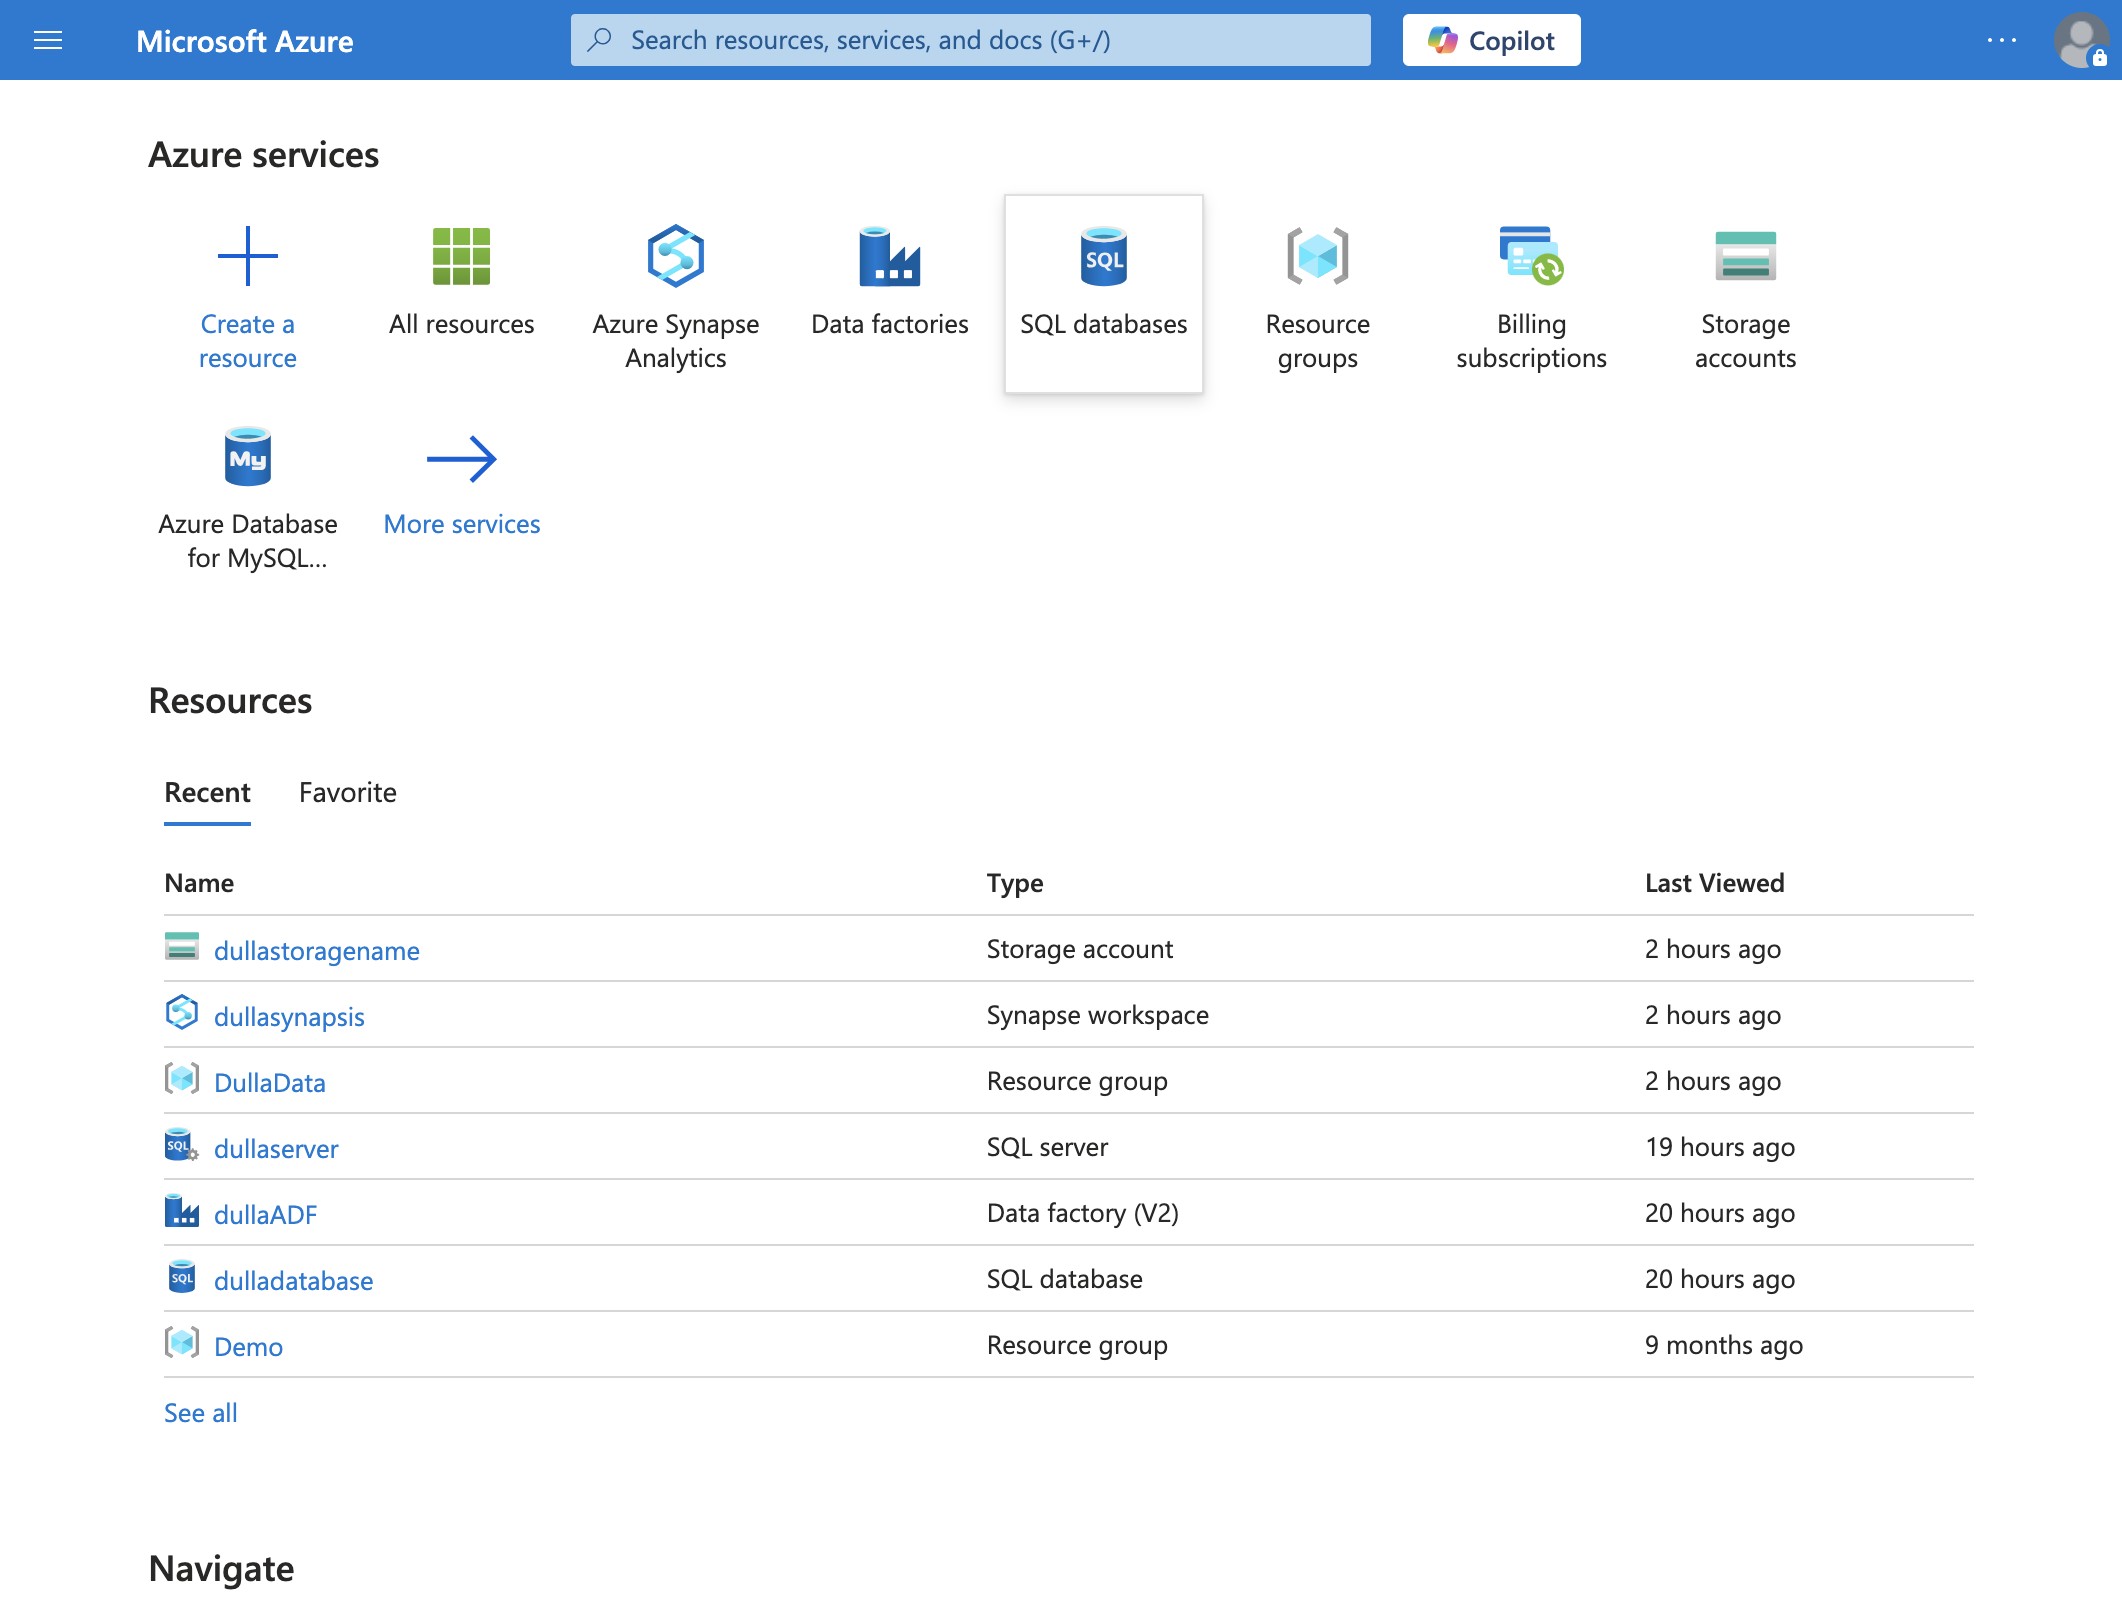
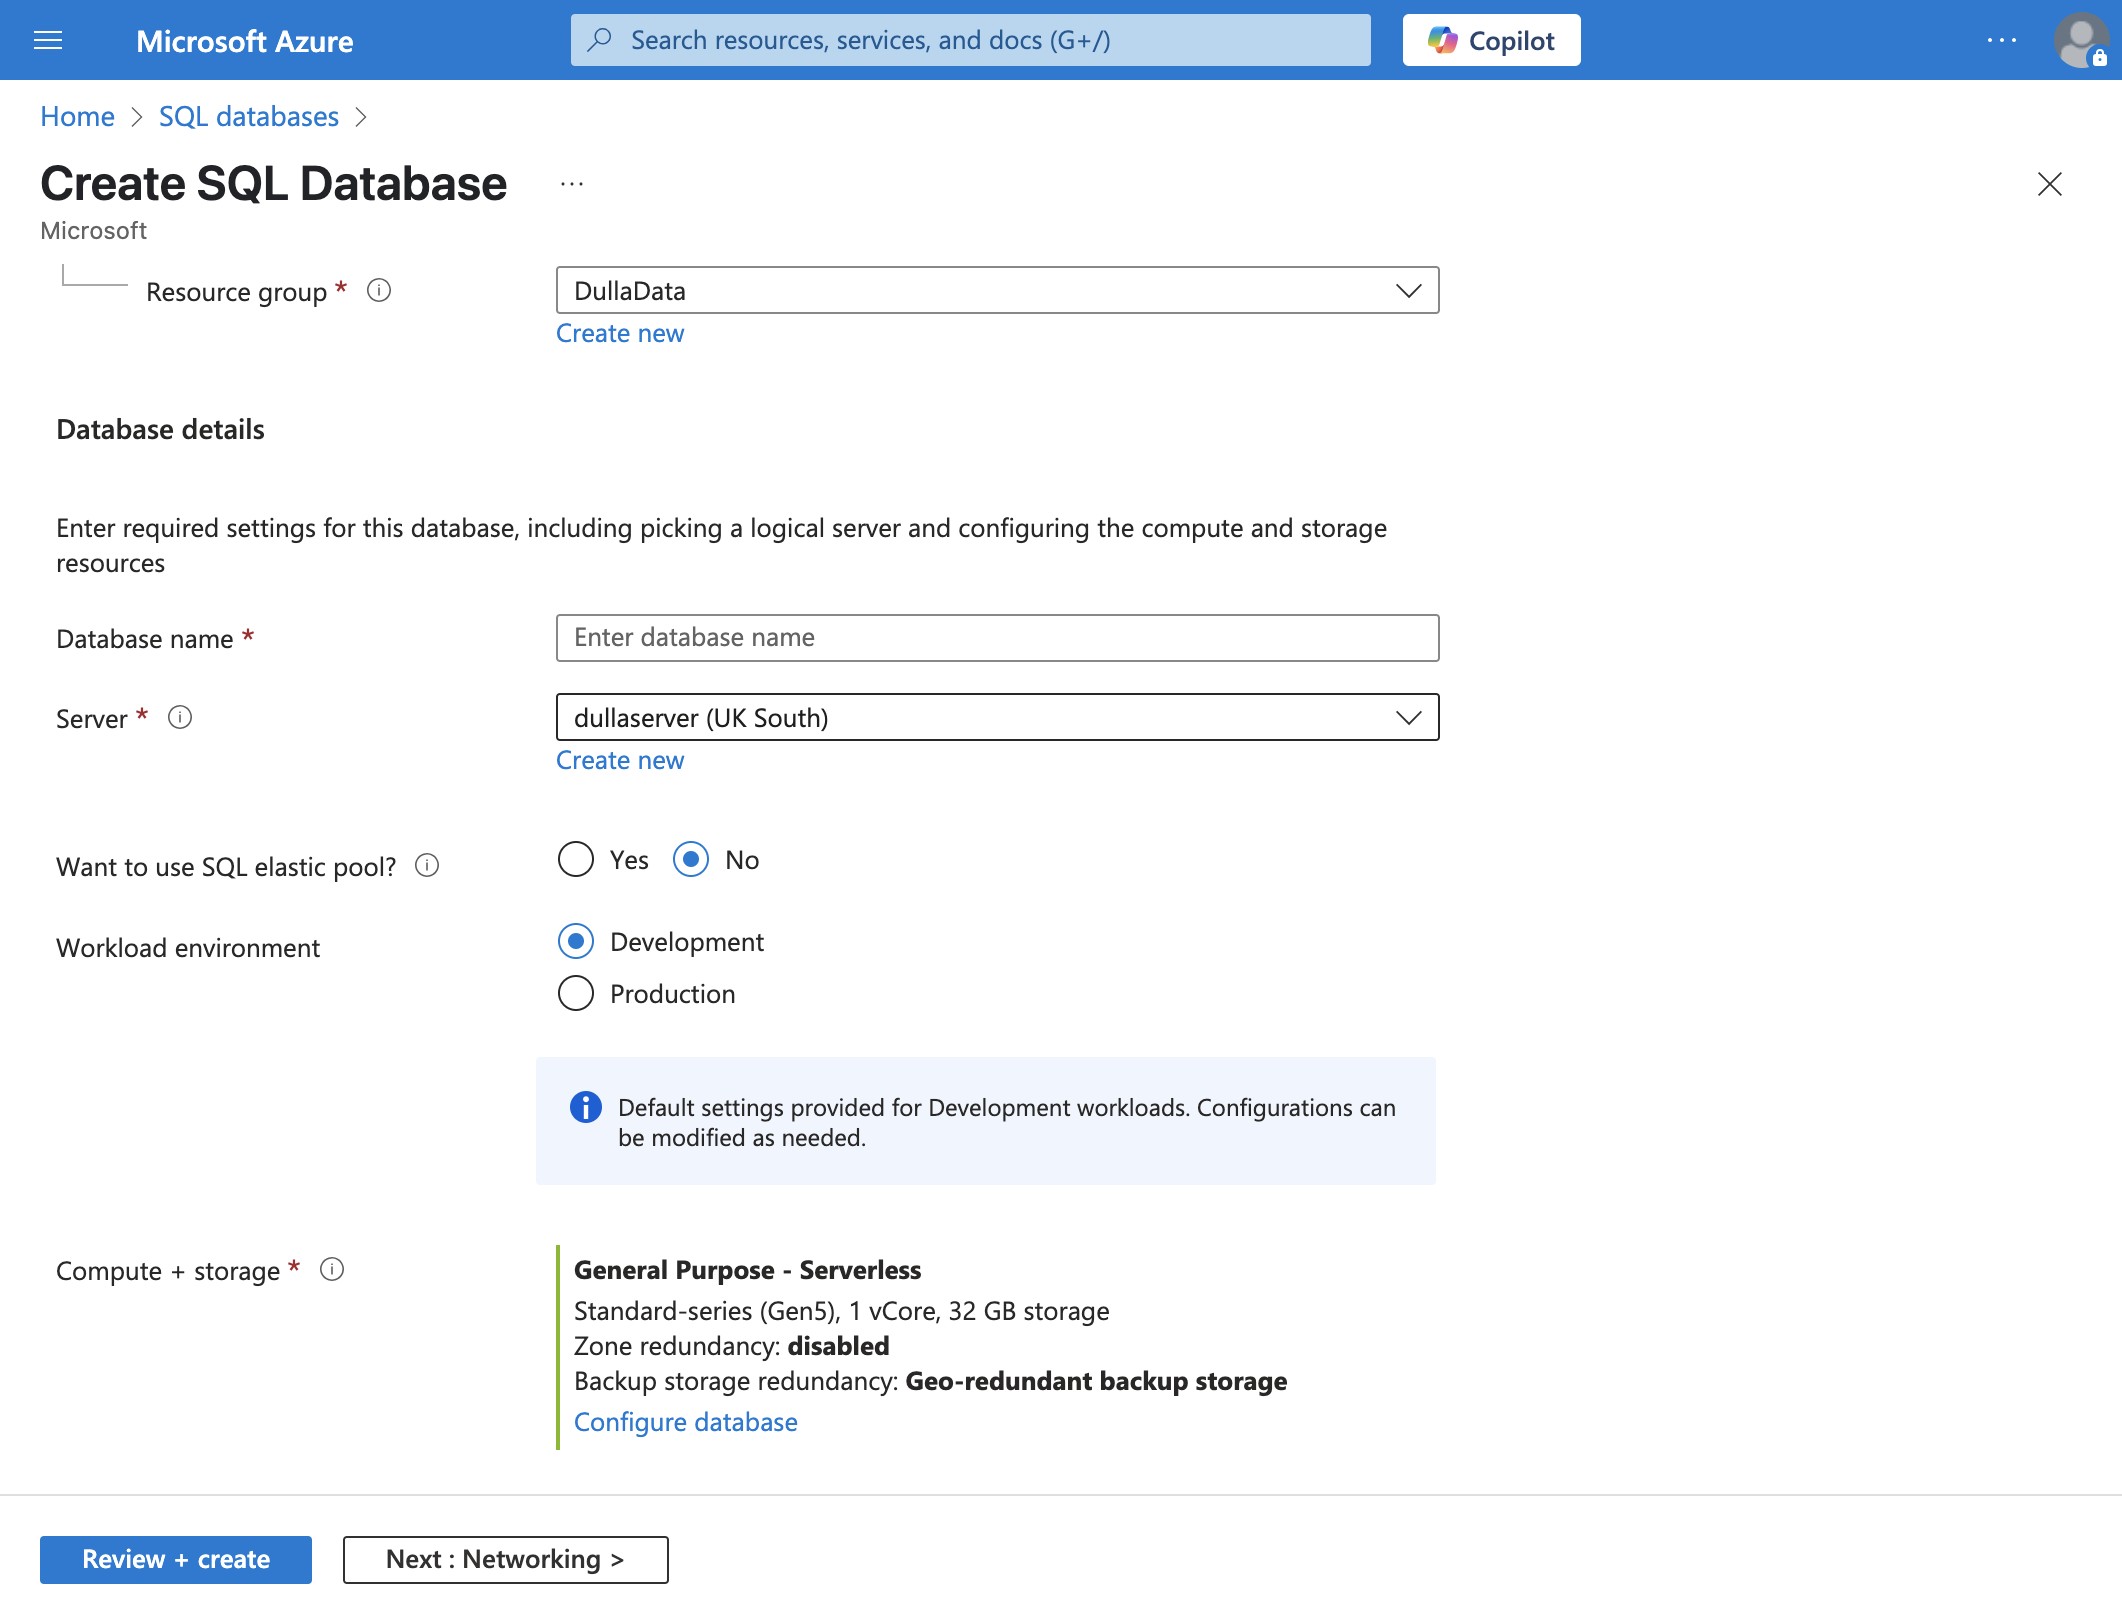
- Fill in the details:
- Subscription: Your Azure subscription which was created when you opened your azure account. This will be automatically appear. You just have to select it,.
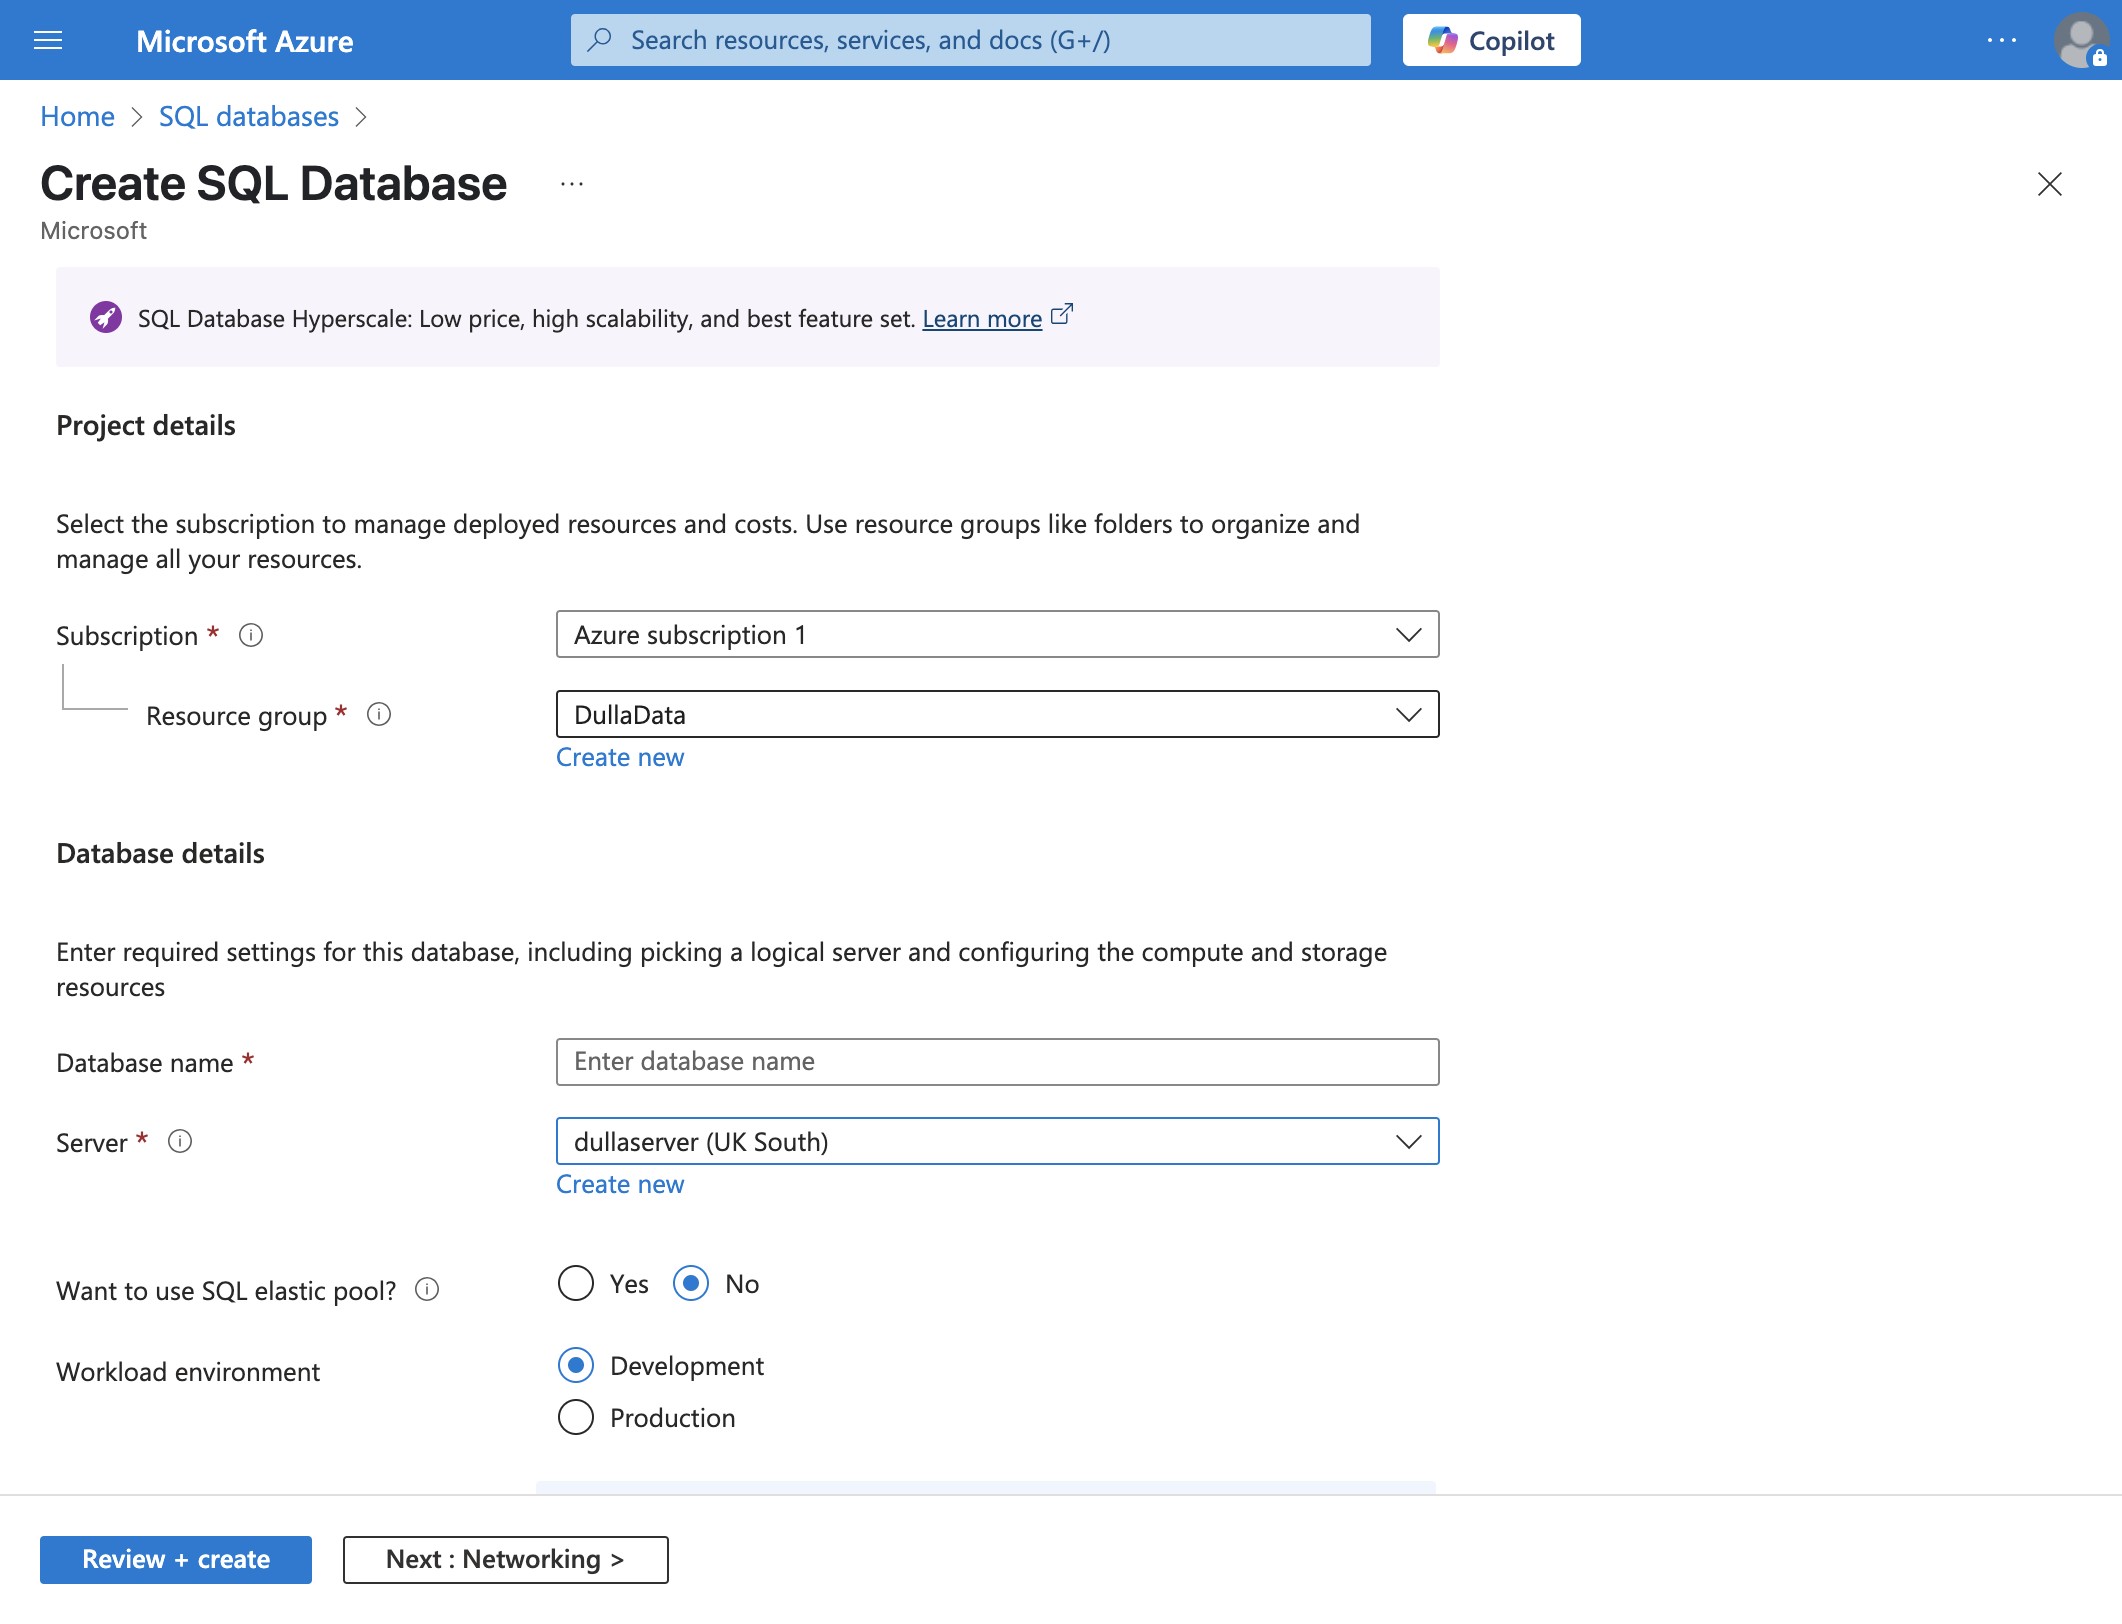
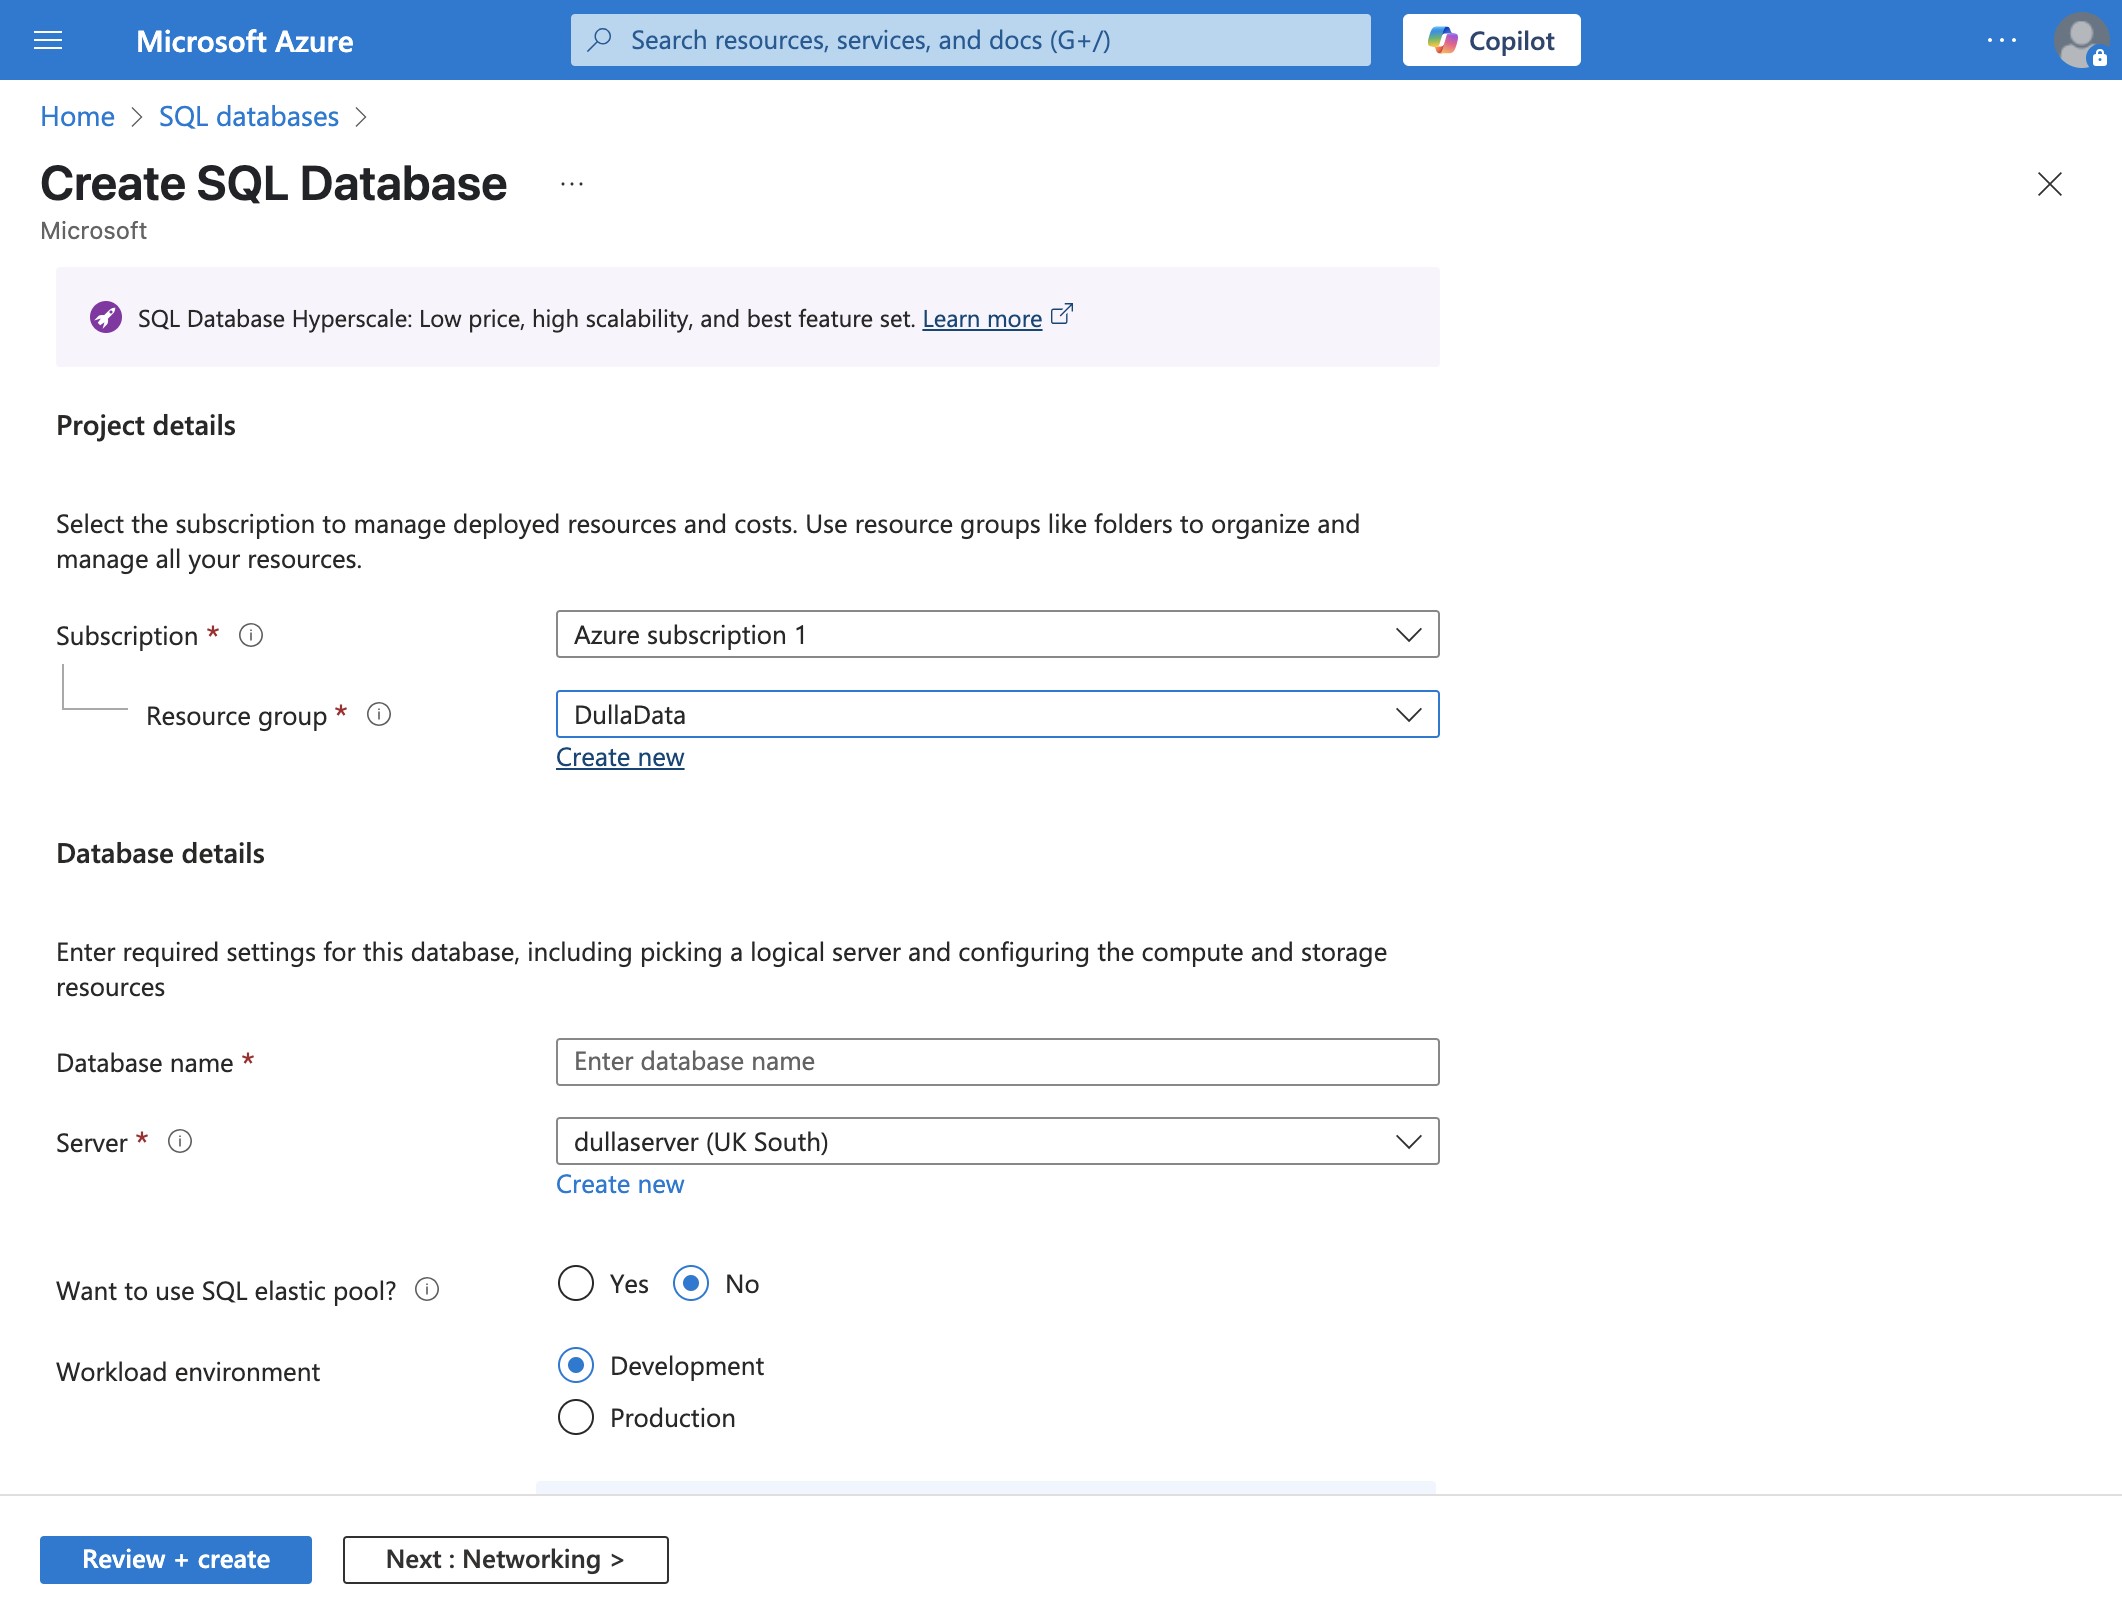
- Resource Group: Create new (e.g.,
DataAnalytics-RG) - Database name:
SampleDB - Server: Create a new server (e.g.,
dullaserver) - Region: Pick the region closest to you to reduce letency.
- Authentication method: SQL authentication
- Set admin username & password (remember these!)
- Under Networking:
- Allow Azure services to access the server (for ADF later)
- (Optional) Add your current client IP for SQL access
- Click Review + Create → Create.
B. Create a Storage Account (for Blob Storage)
Search for “Storage accounts” → Create.
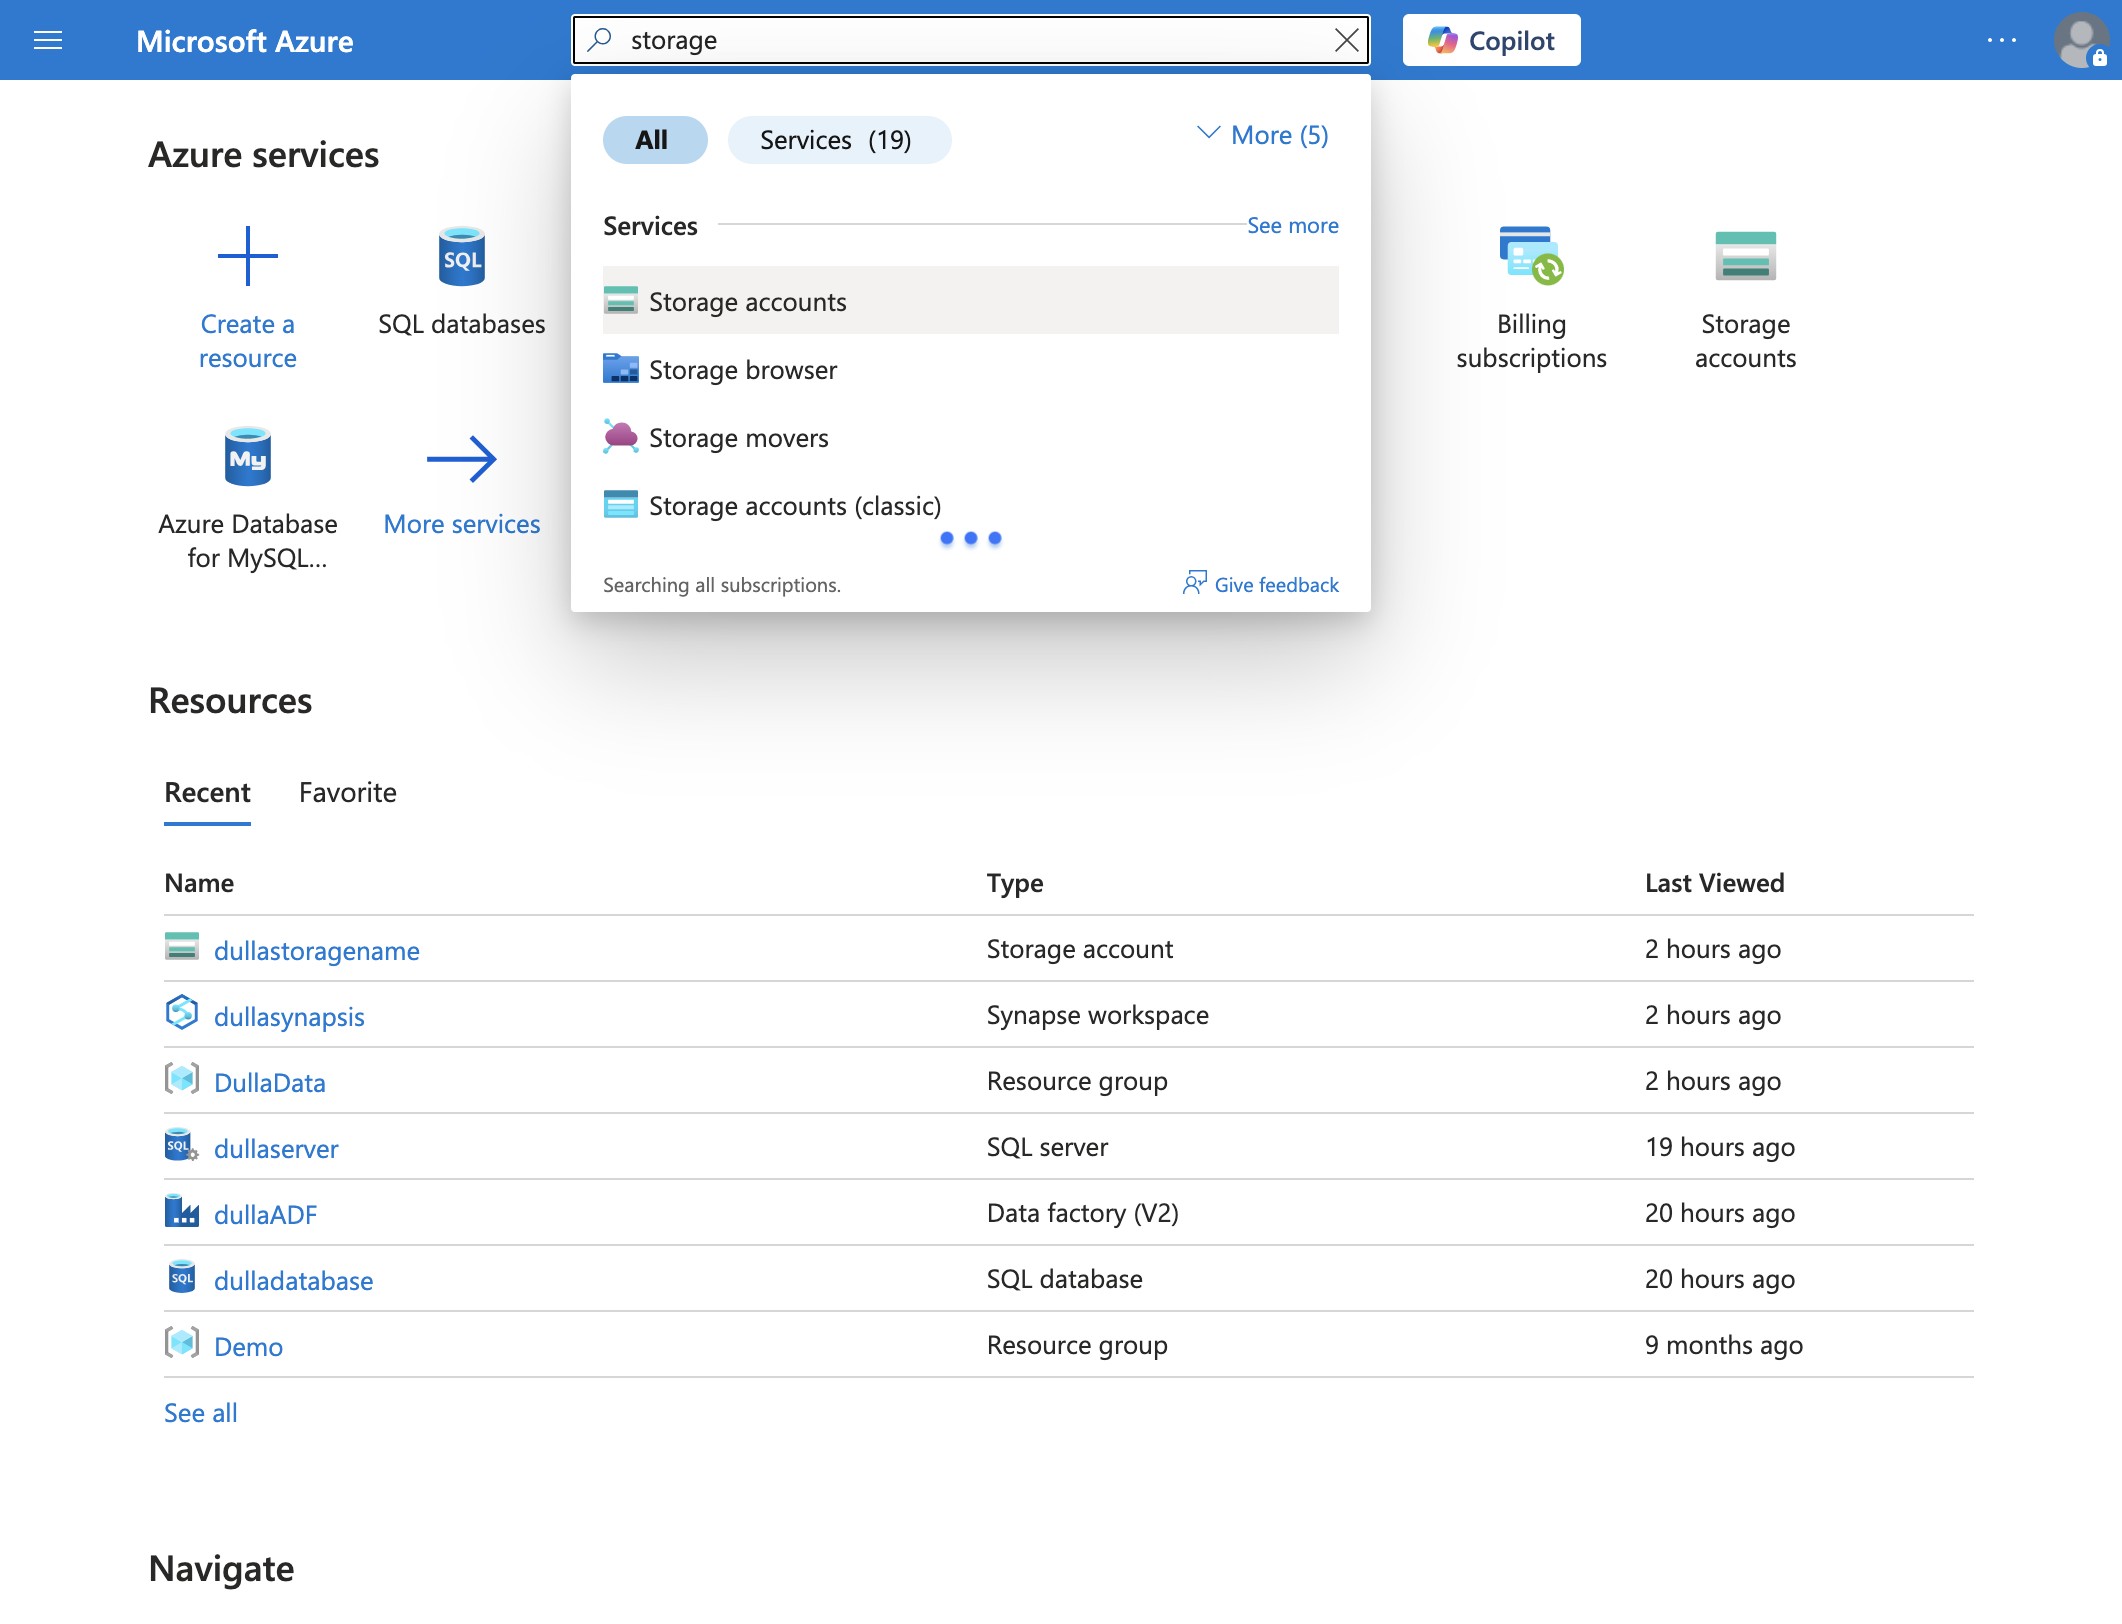
Configure:
- Resource Group:
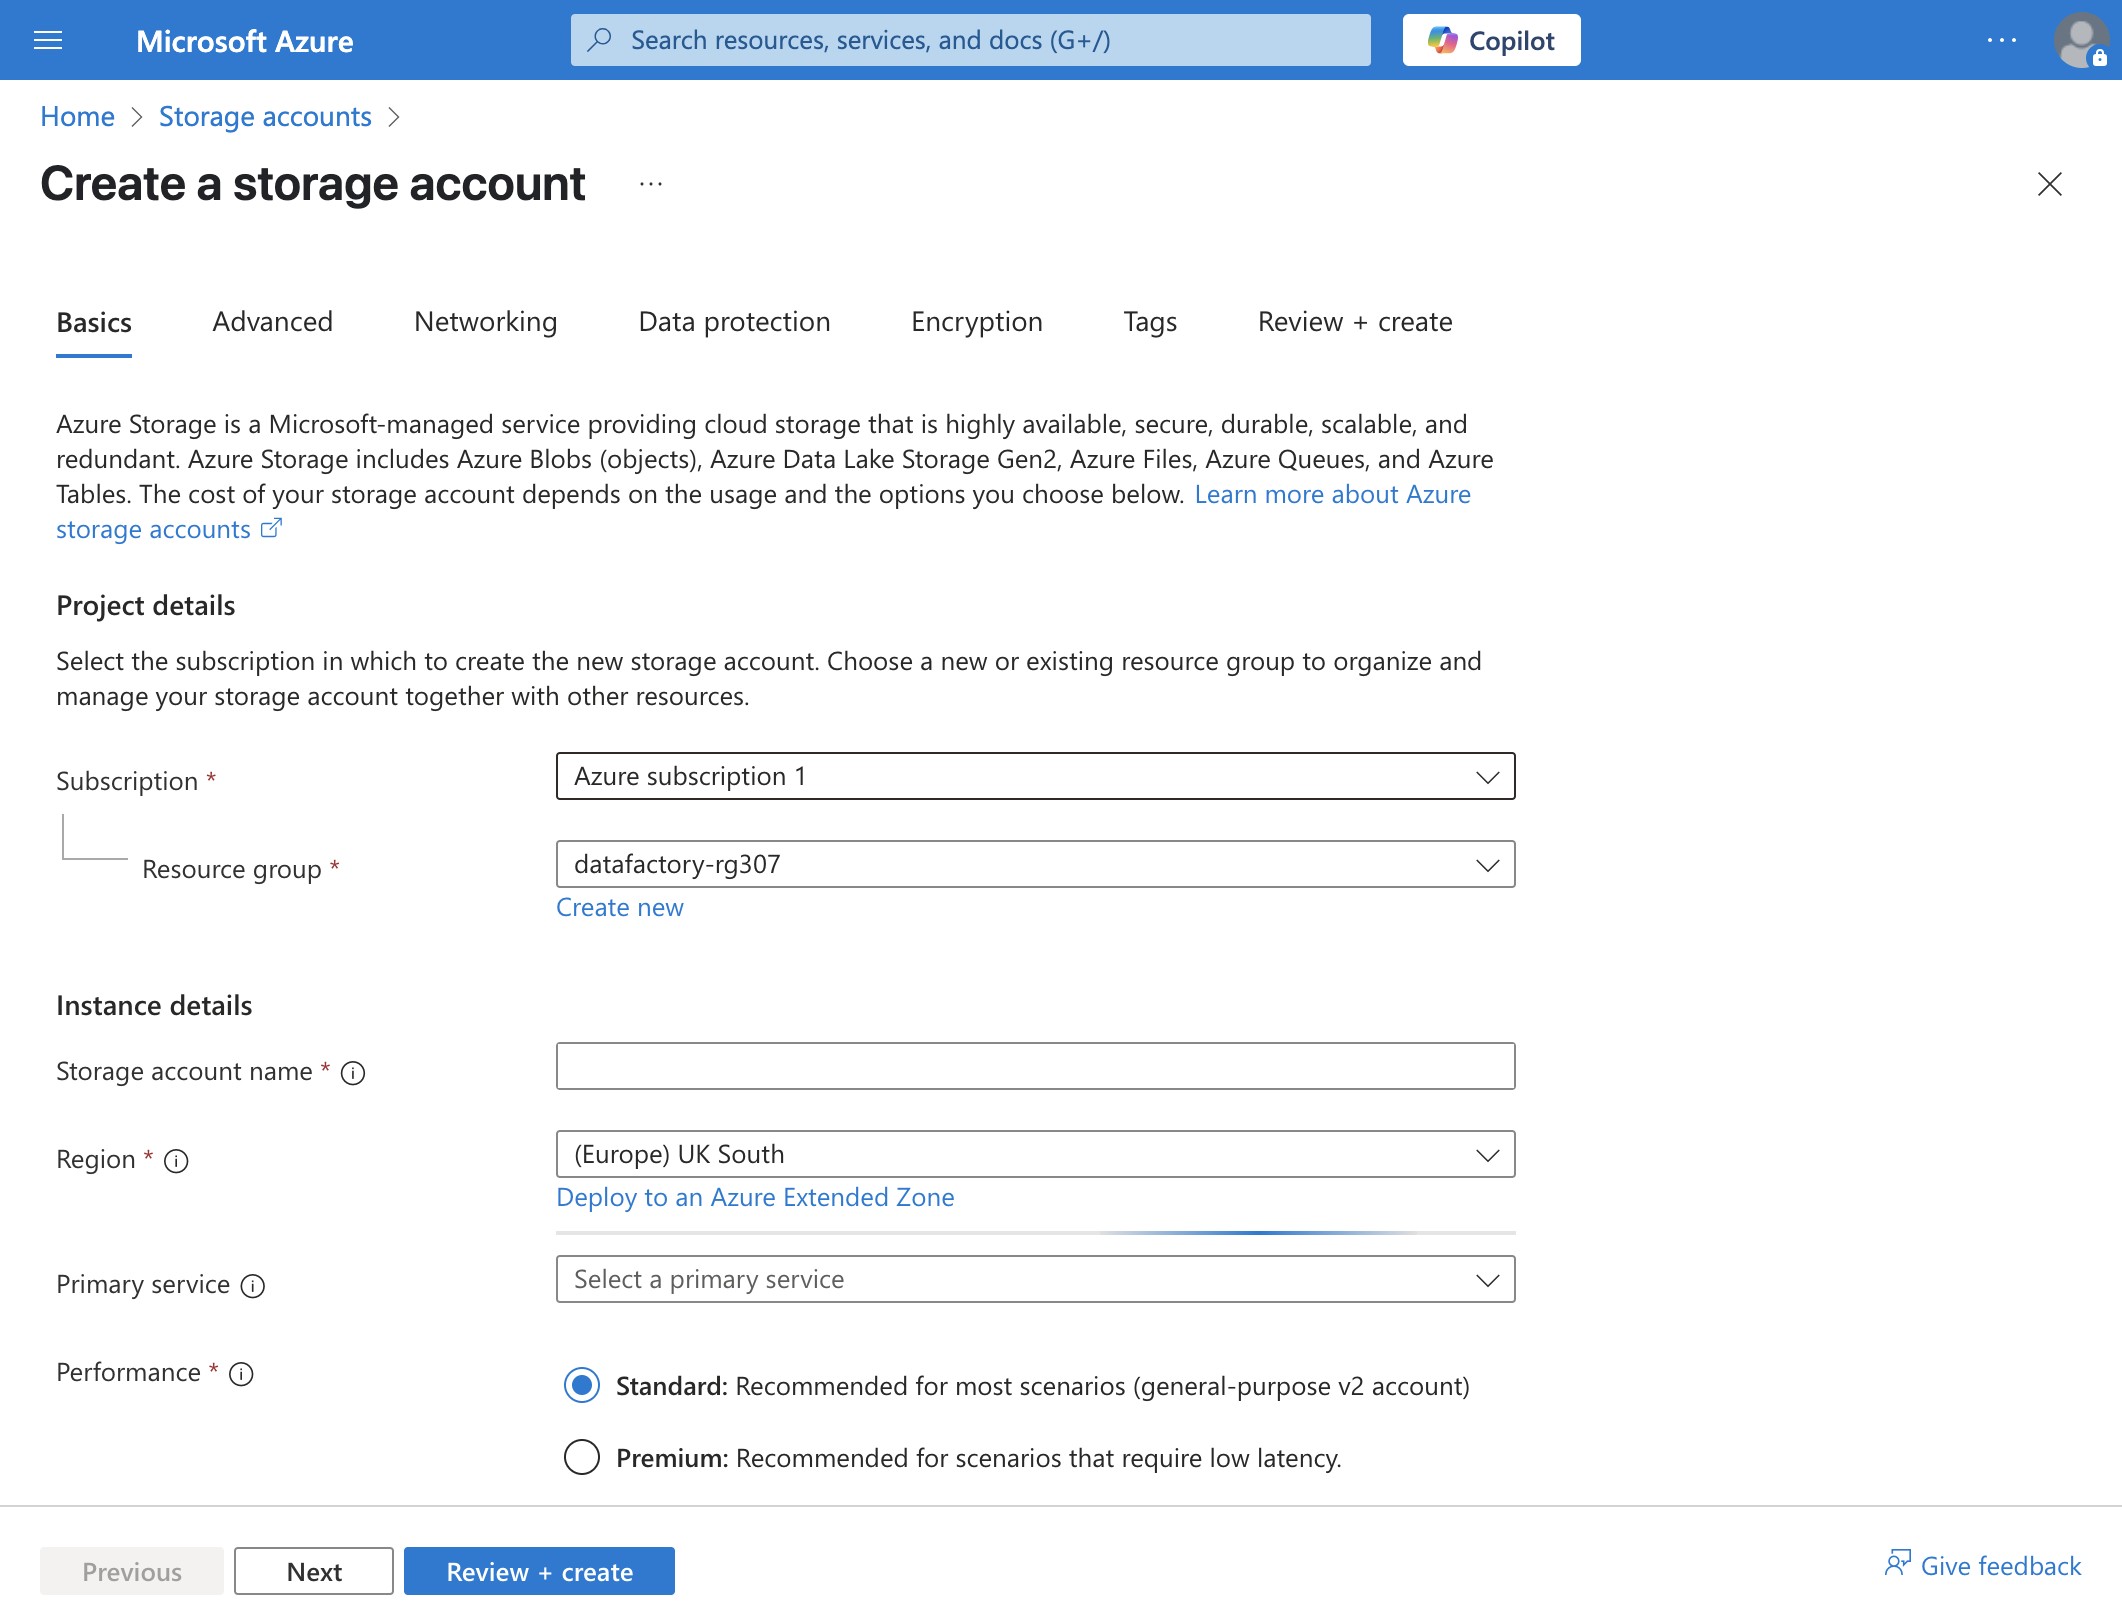
- Storage account name:
dullastorage - Region: Same as SQL DB
- Performance: Standard
- Redundancy: LRS (Locally Redundant) If you application will be accessed from different parts of the world, you might consider your options. The speed of the appliaction will be determined by its proximity to the user.
- Click Review + Create → Create.
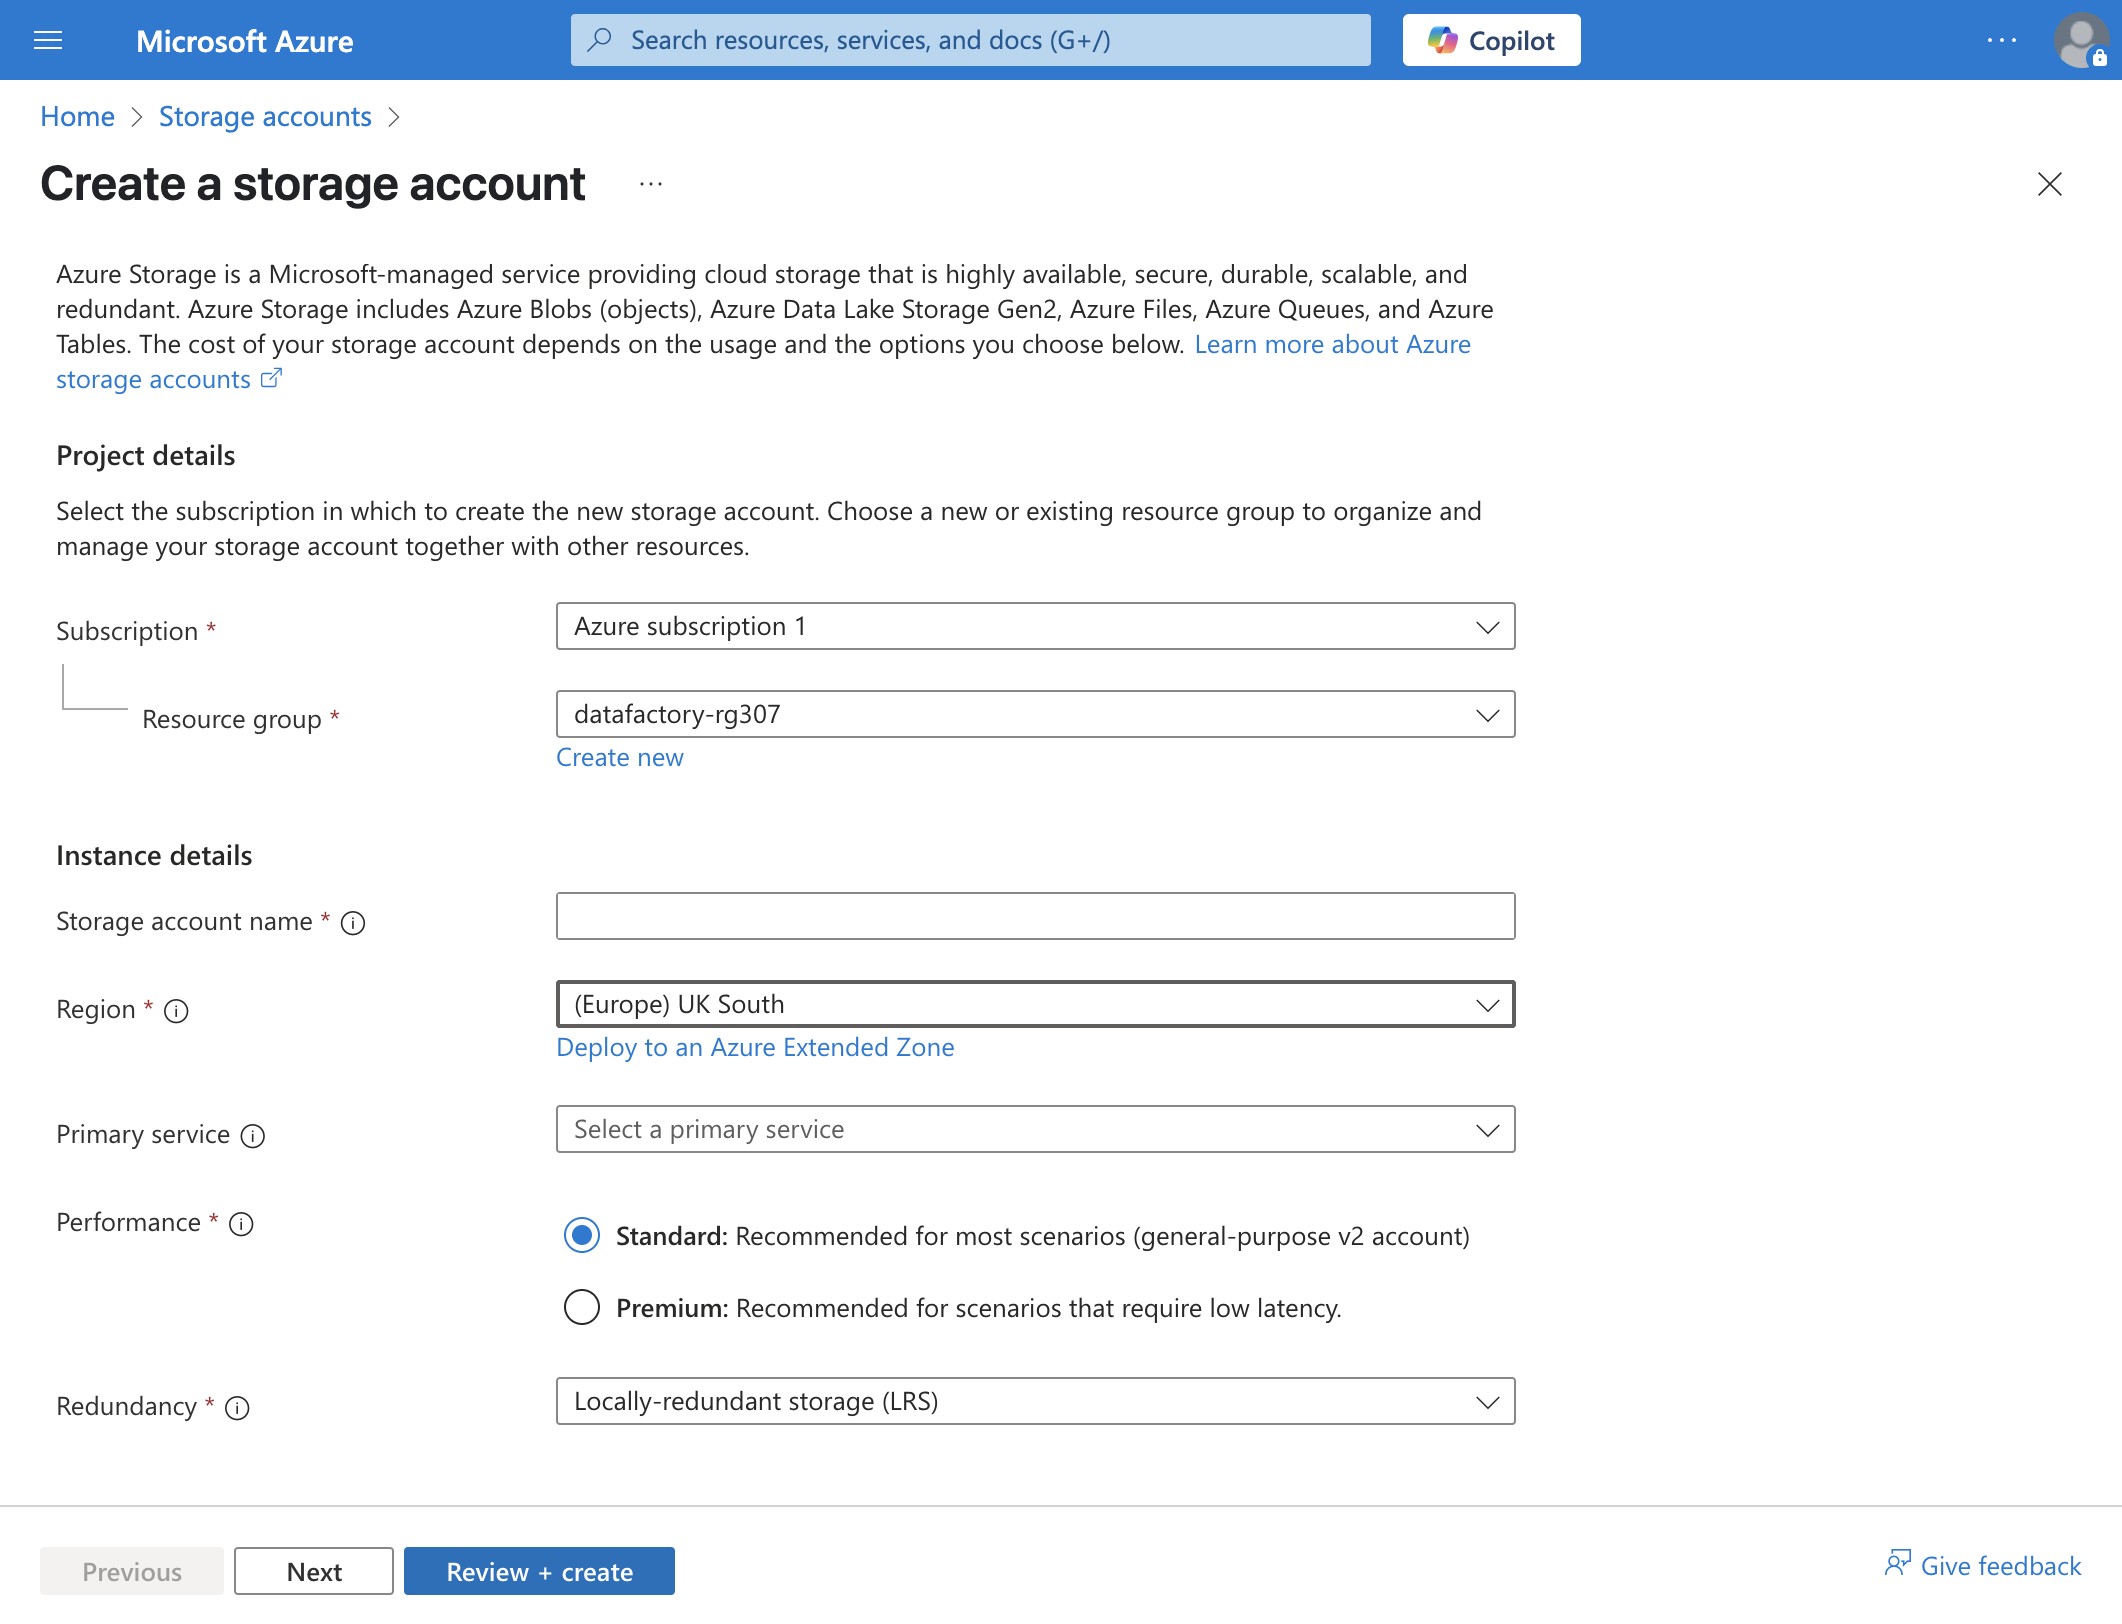
Step 3: Connect Azure SQL DB to SQL Server Management Studio (SSMS)
- Download and install SSMS if you don’t have it.
- Open SSMS → Click Connect → Select “Database Engine”.
- Enter server details:
- Server name:
Theservername created when setting up database - Authentication: SQL Server Authentication (Enter the authentication you used when setting up)
- Login/Password: The credentials you set earlier
- Server name:
- Click Connect.
For Errors during azure database and sql interface click here for solution
Step 4: Create Sample Data in SQL Database
Let’s create a simple table and insert data.
A. Create a Table
Run this SQL query in SSMS:
sql
CREATE TABLE Customers (
    CustomerID INT PRIMARY KEY,
    FirstName NVARCHAR(50),
    LastName NVARCHAR(50),
    Email NVARCHAR(100),
    SignupDate DATE
);
B. Insert Sample Data
sql
INSERT INTO Customers VALUES
(1, 'John', 'Doe', 'john.doe@example.com', '2023-01-15'),
(2, 'Jane', 'Smith', 'jane.smith@example.com', '2023-02-20'),
(3, 'Mike', 'Johnson', 'mike.johnson@example.com', '2023-03-10');
C. Verify Data
sql
SELECT * FROM Customers;
You should see three records.
Step 5: Prepare Blob Storage for Data Factory
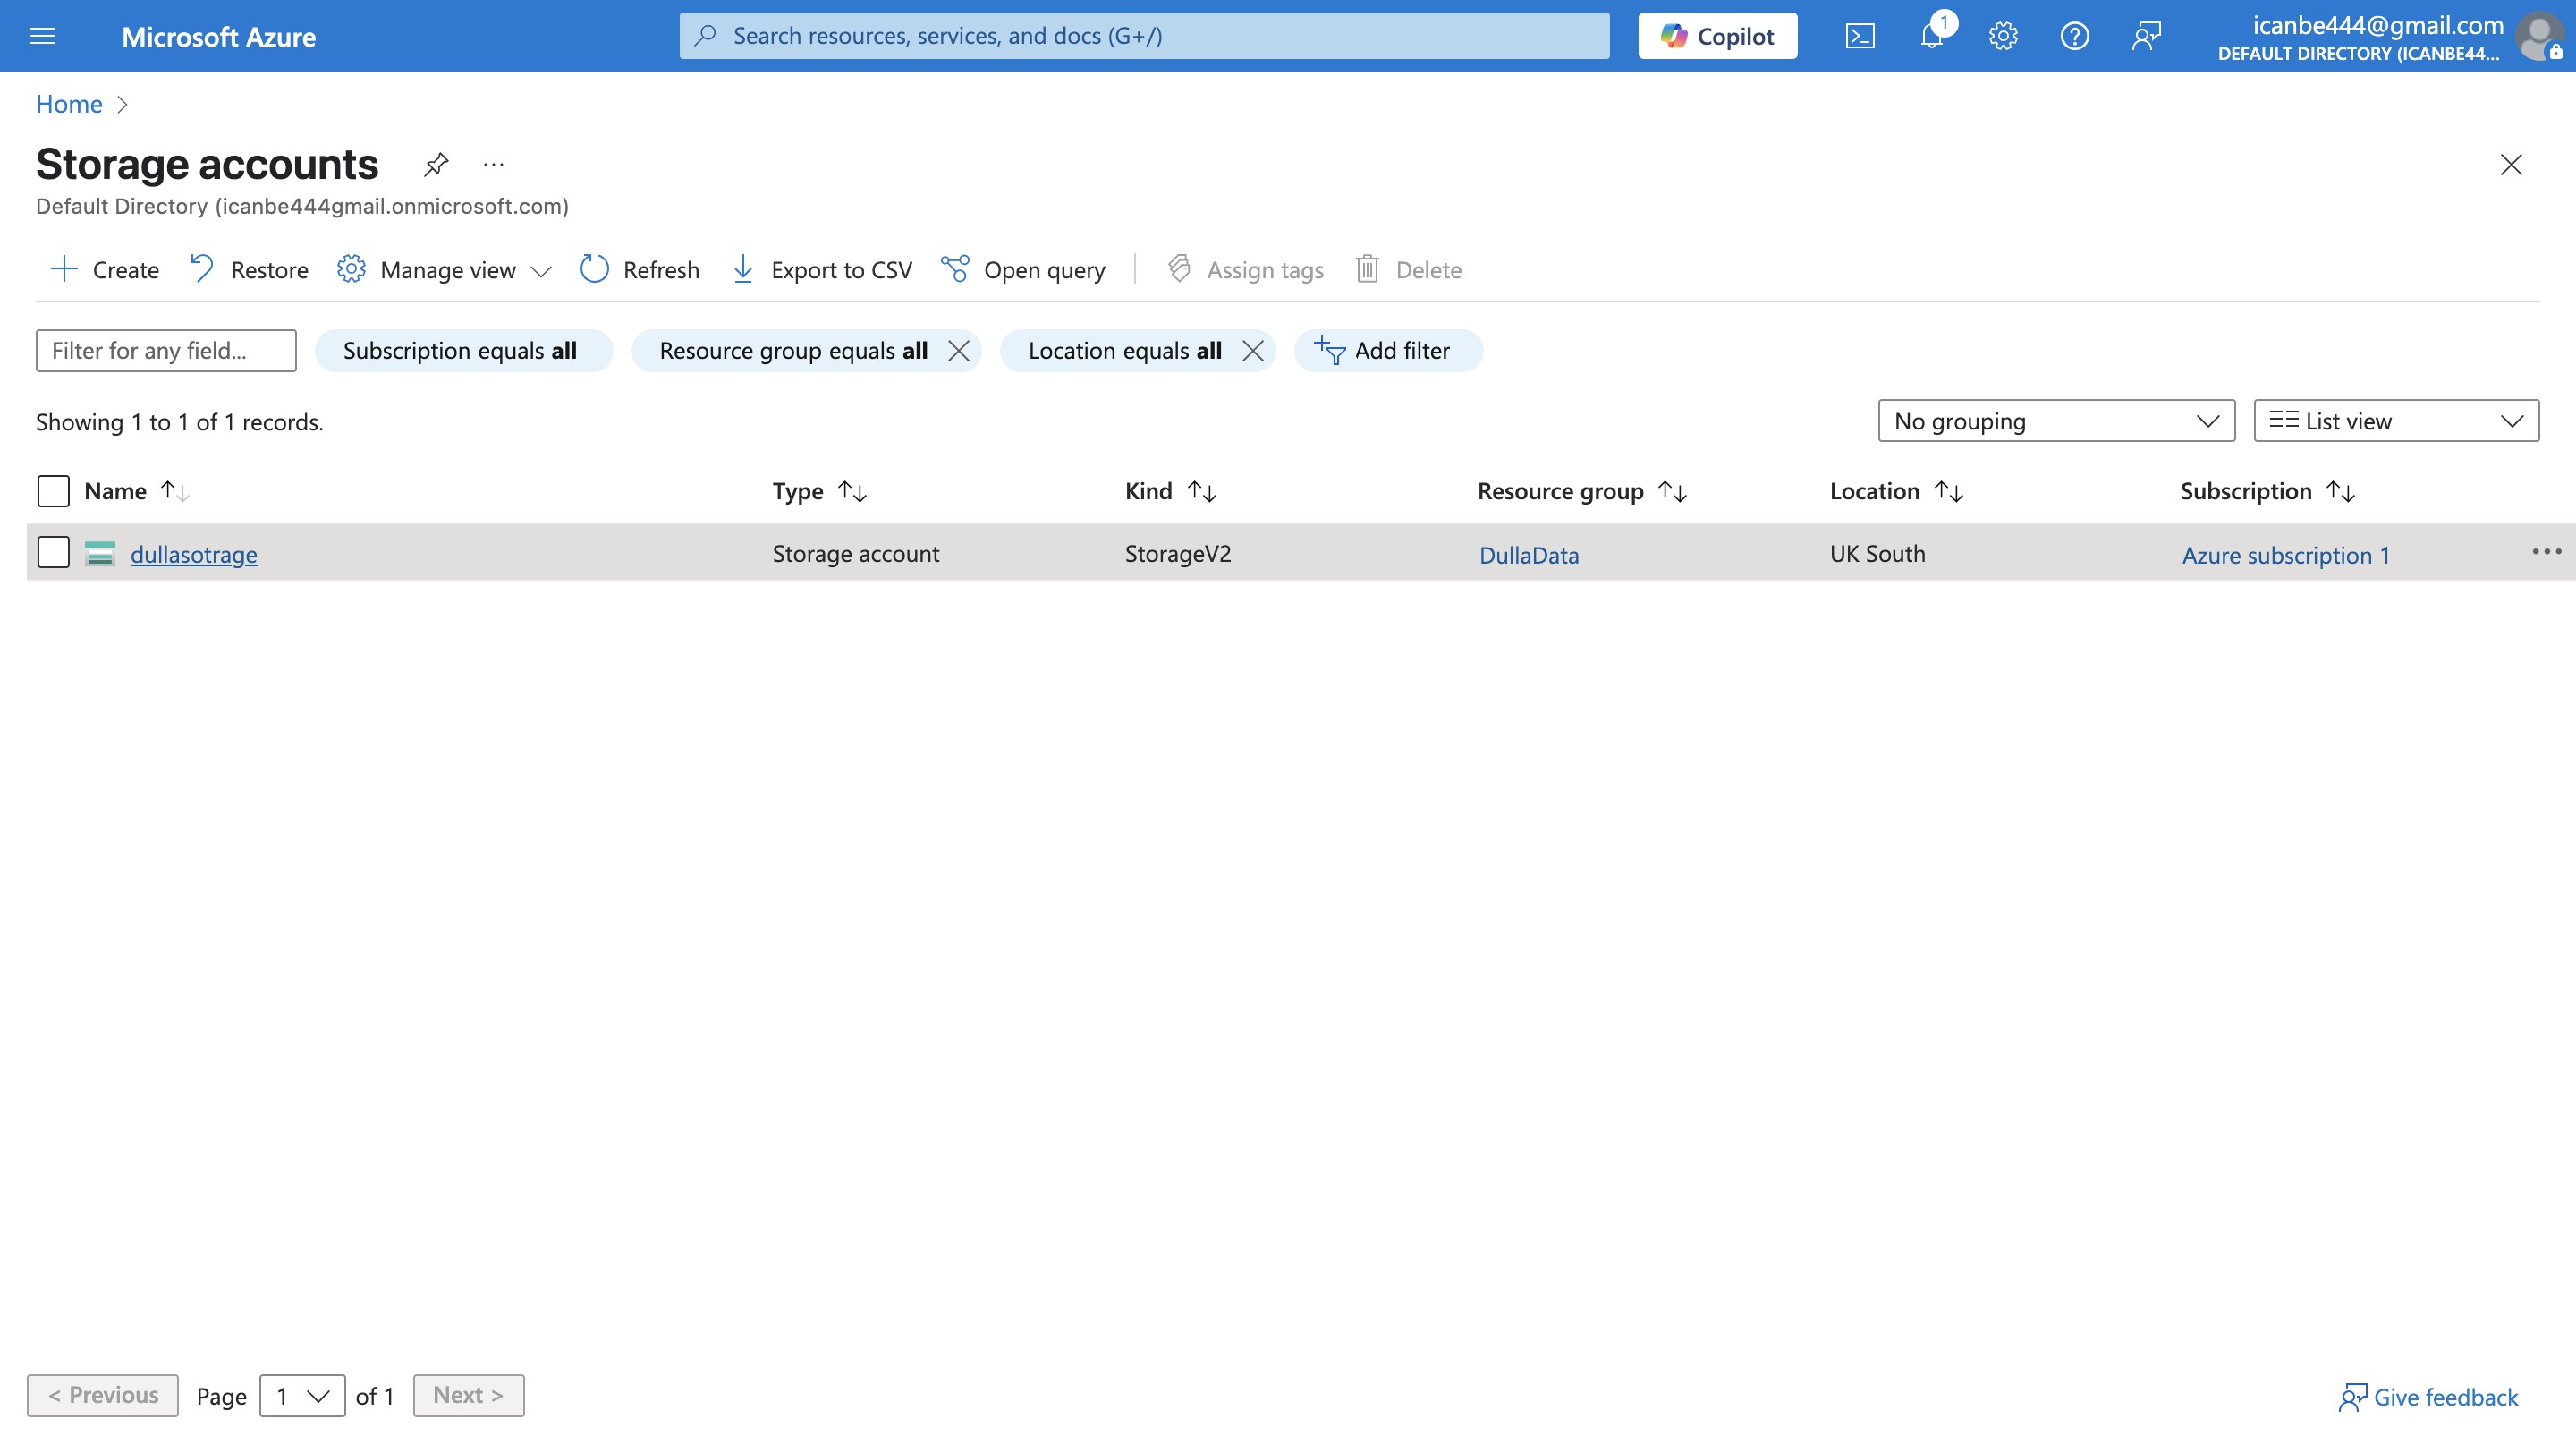
- Go to your Storage Account (
the one created in 1B above) → Containers.
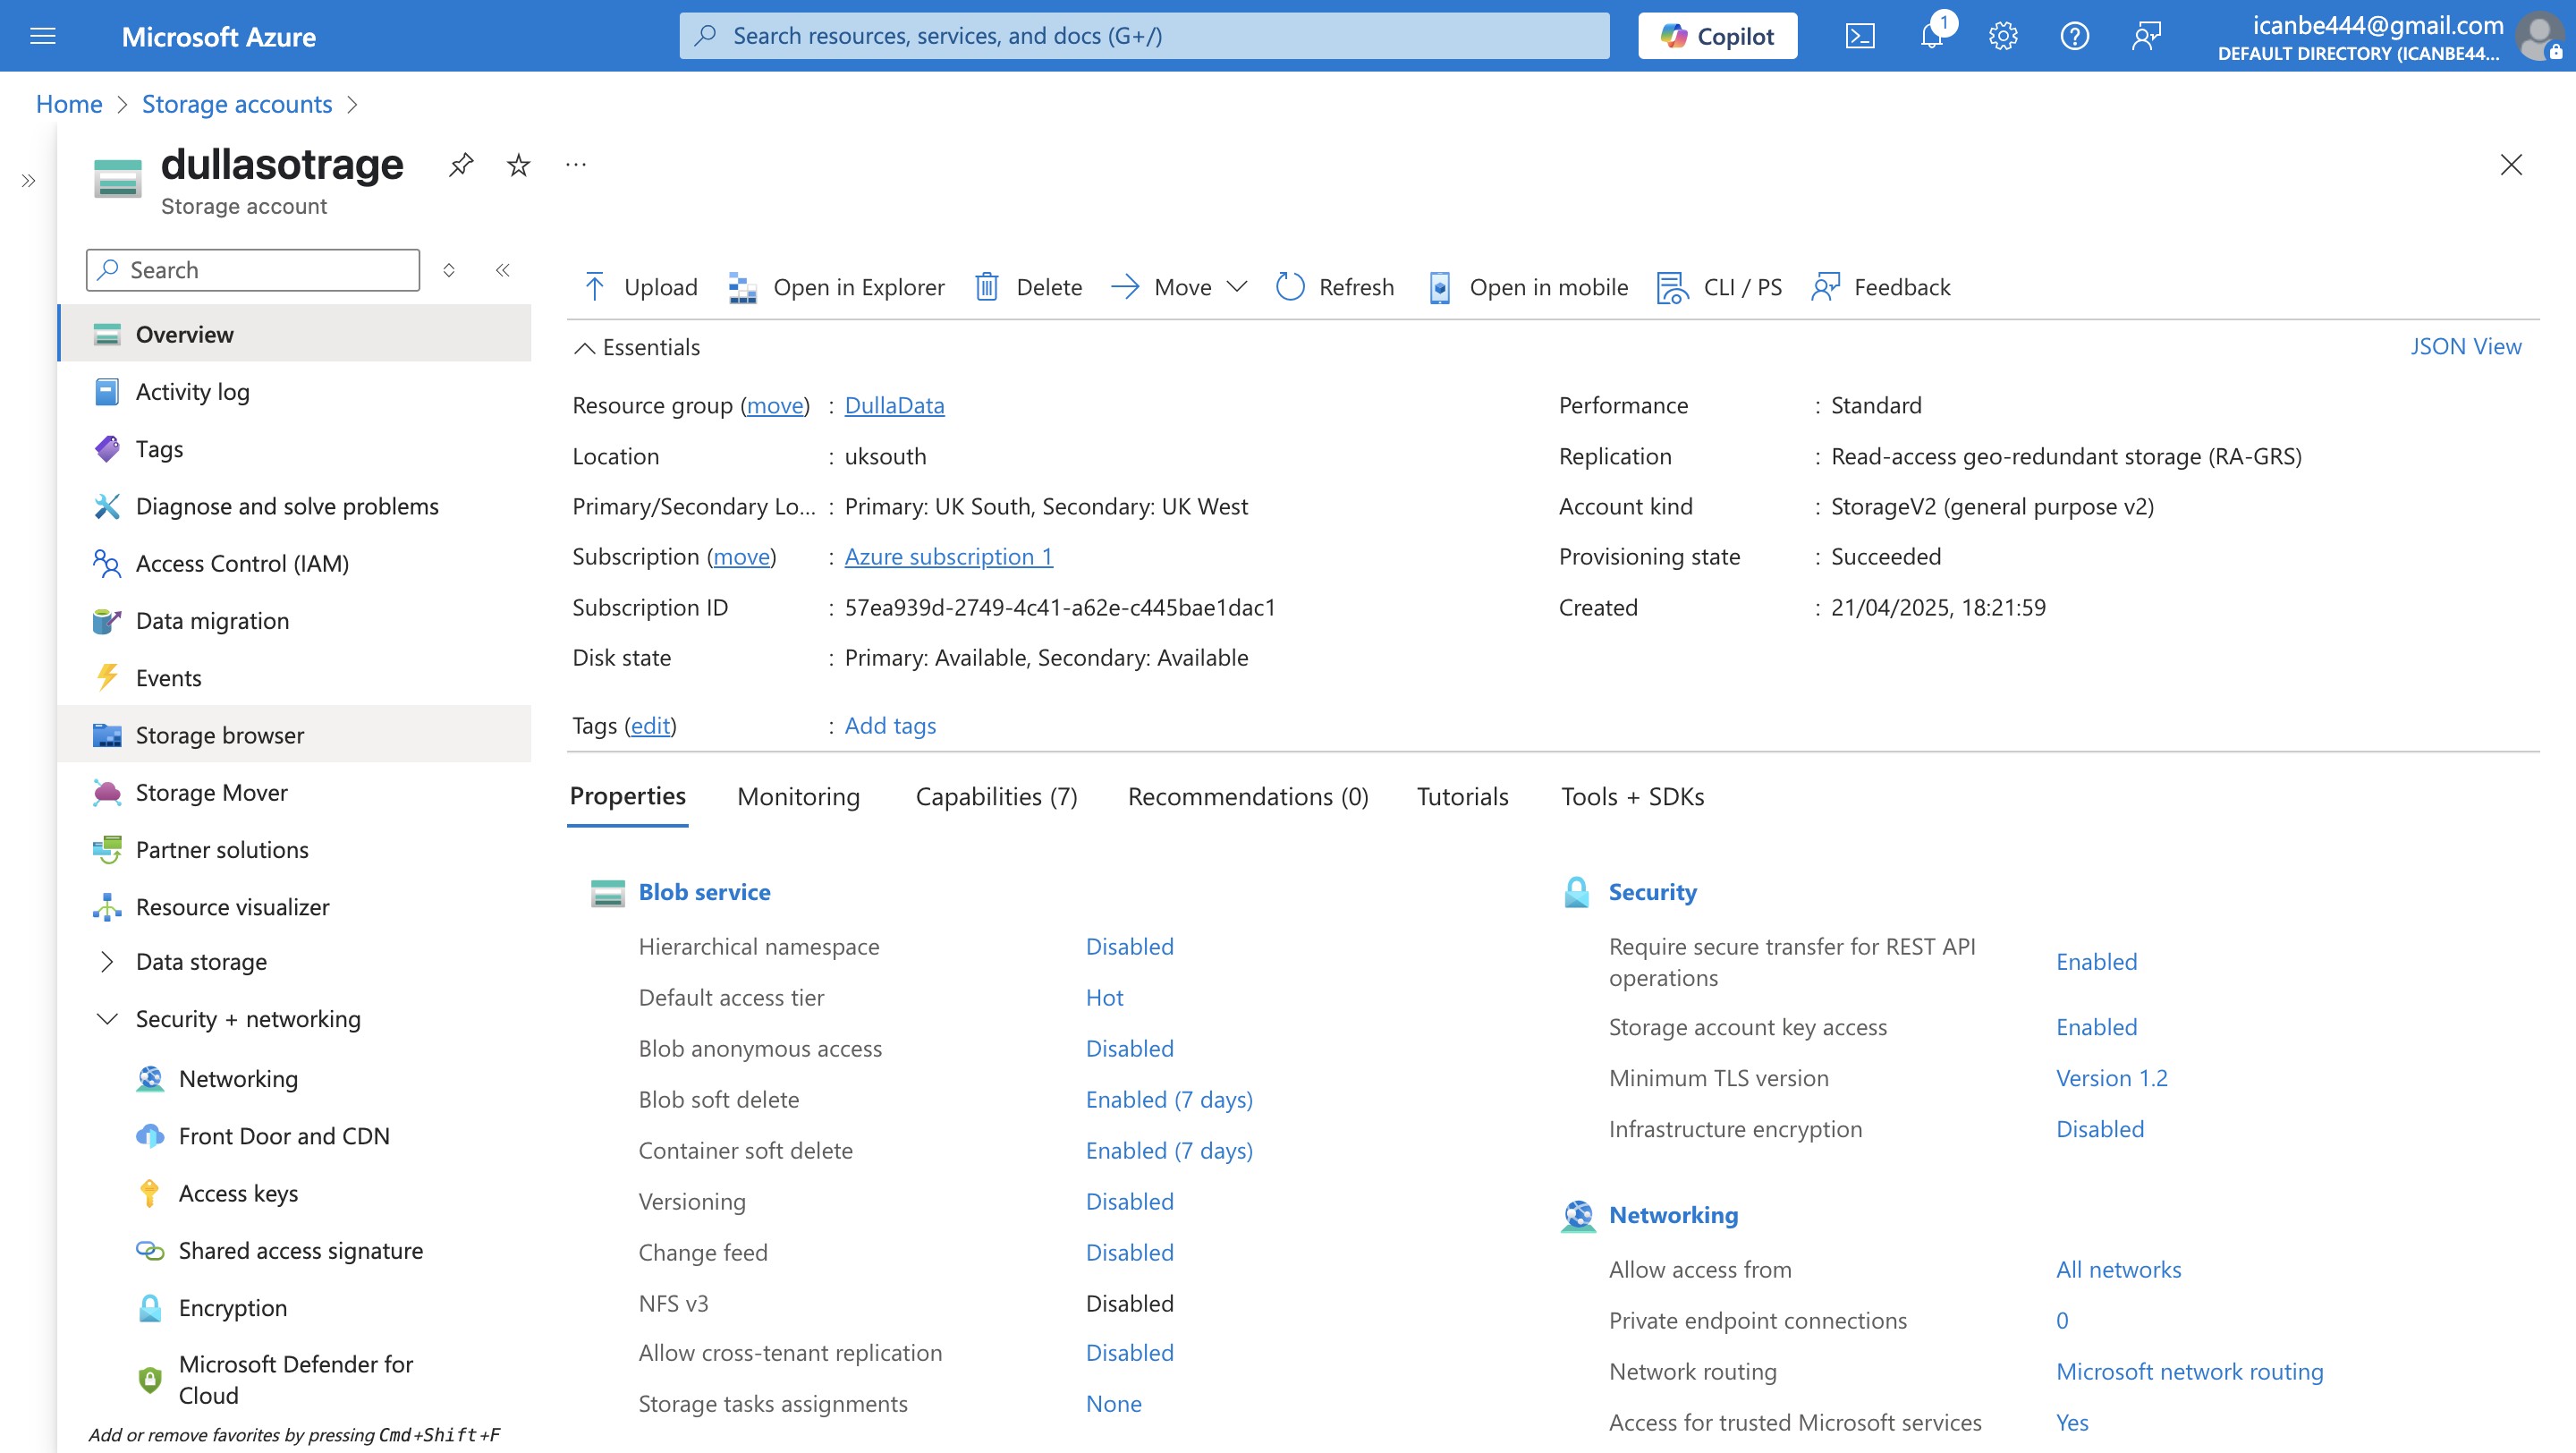
- Create a new container
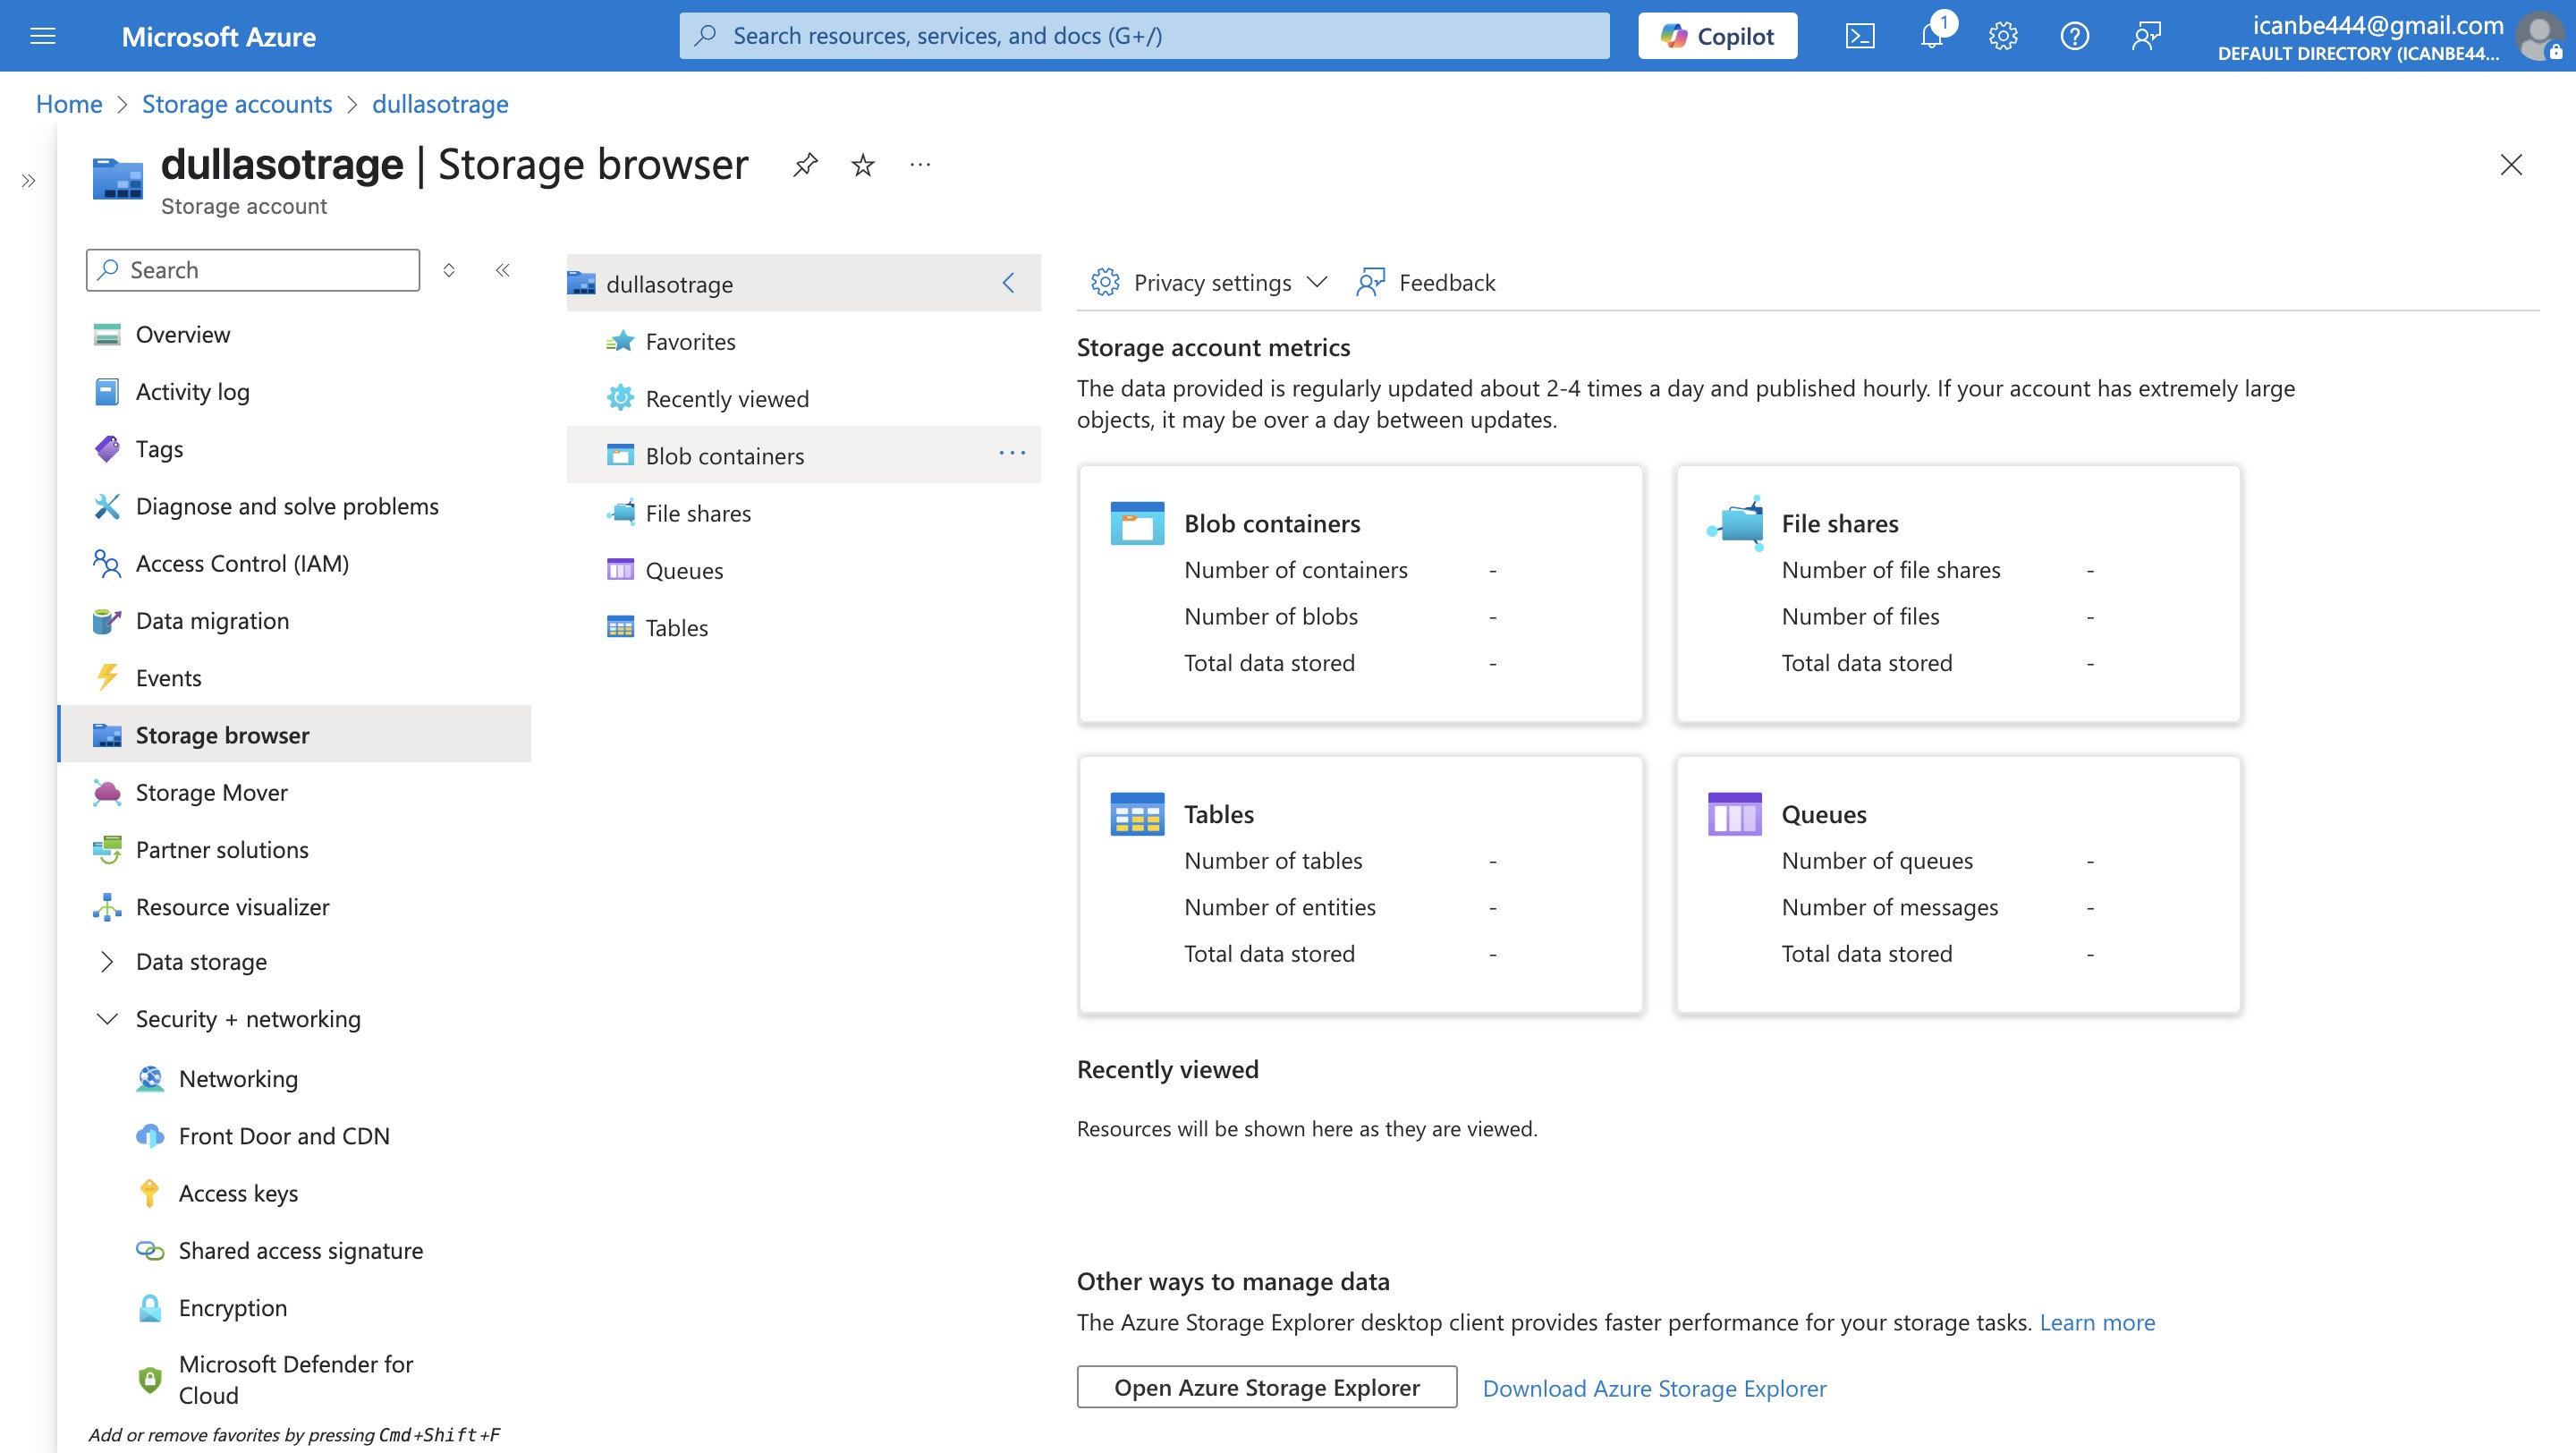
- Create your personal container where your files will be kept
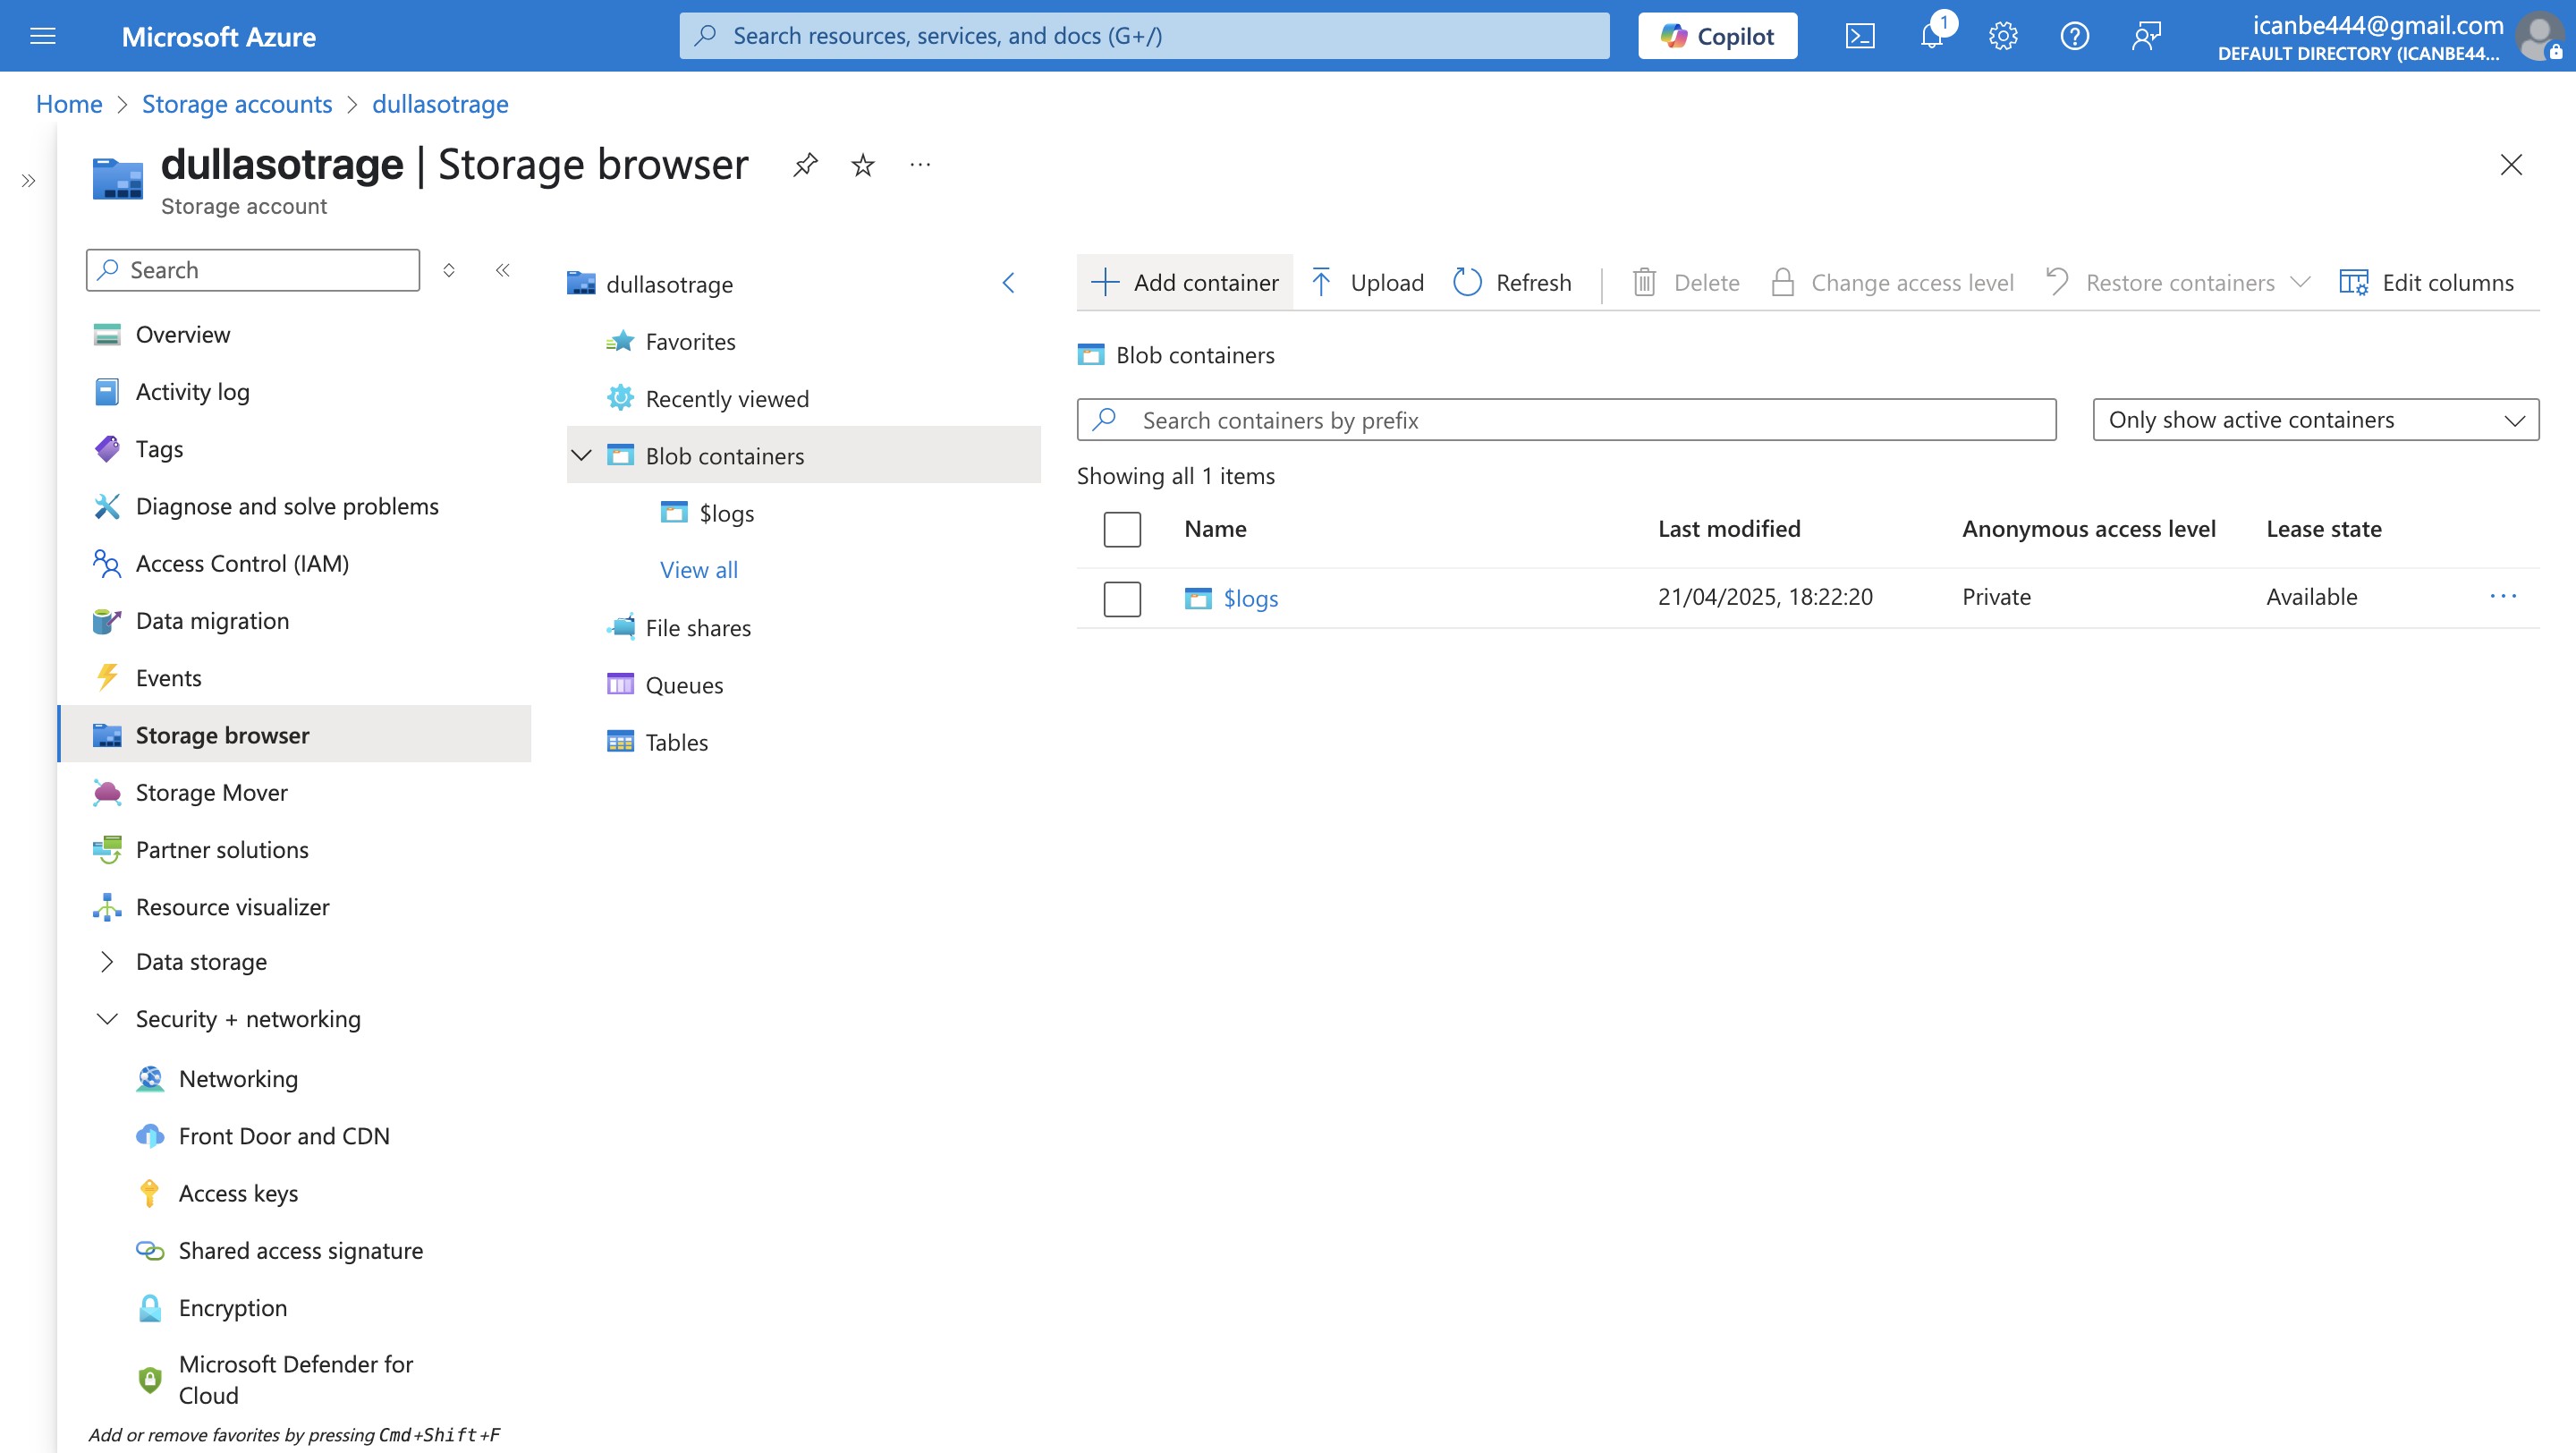
- Add container
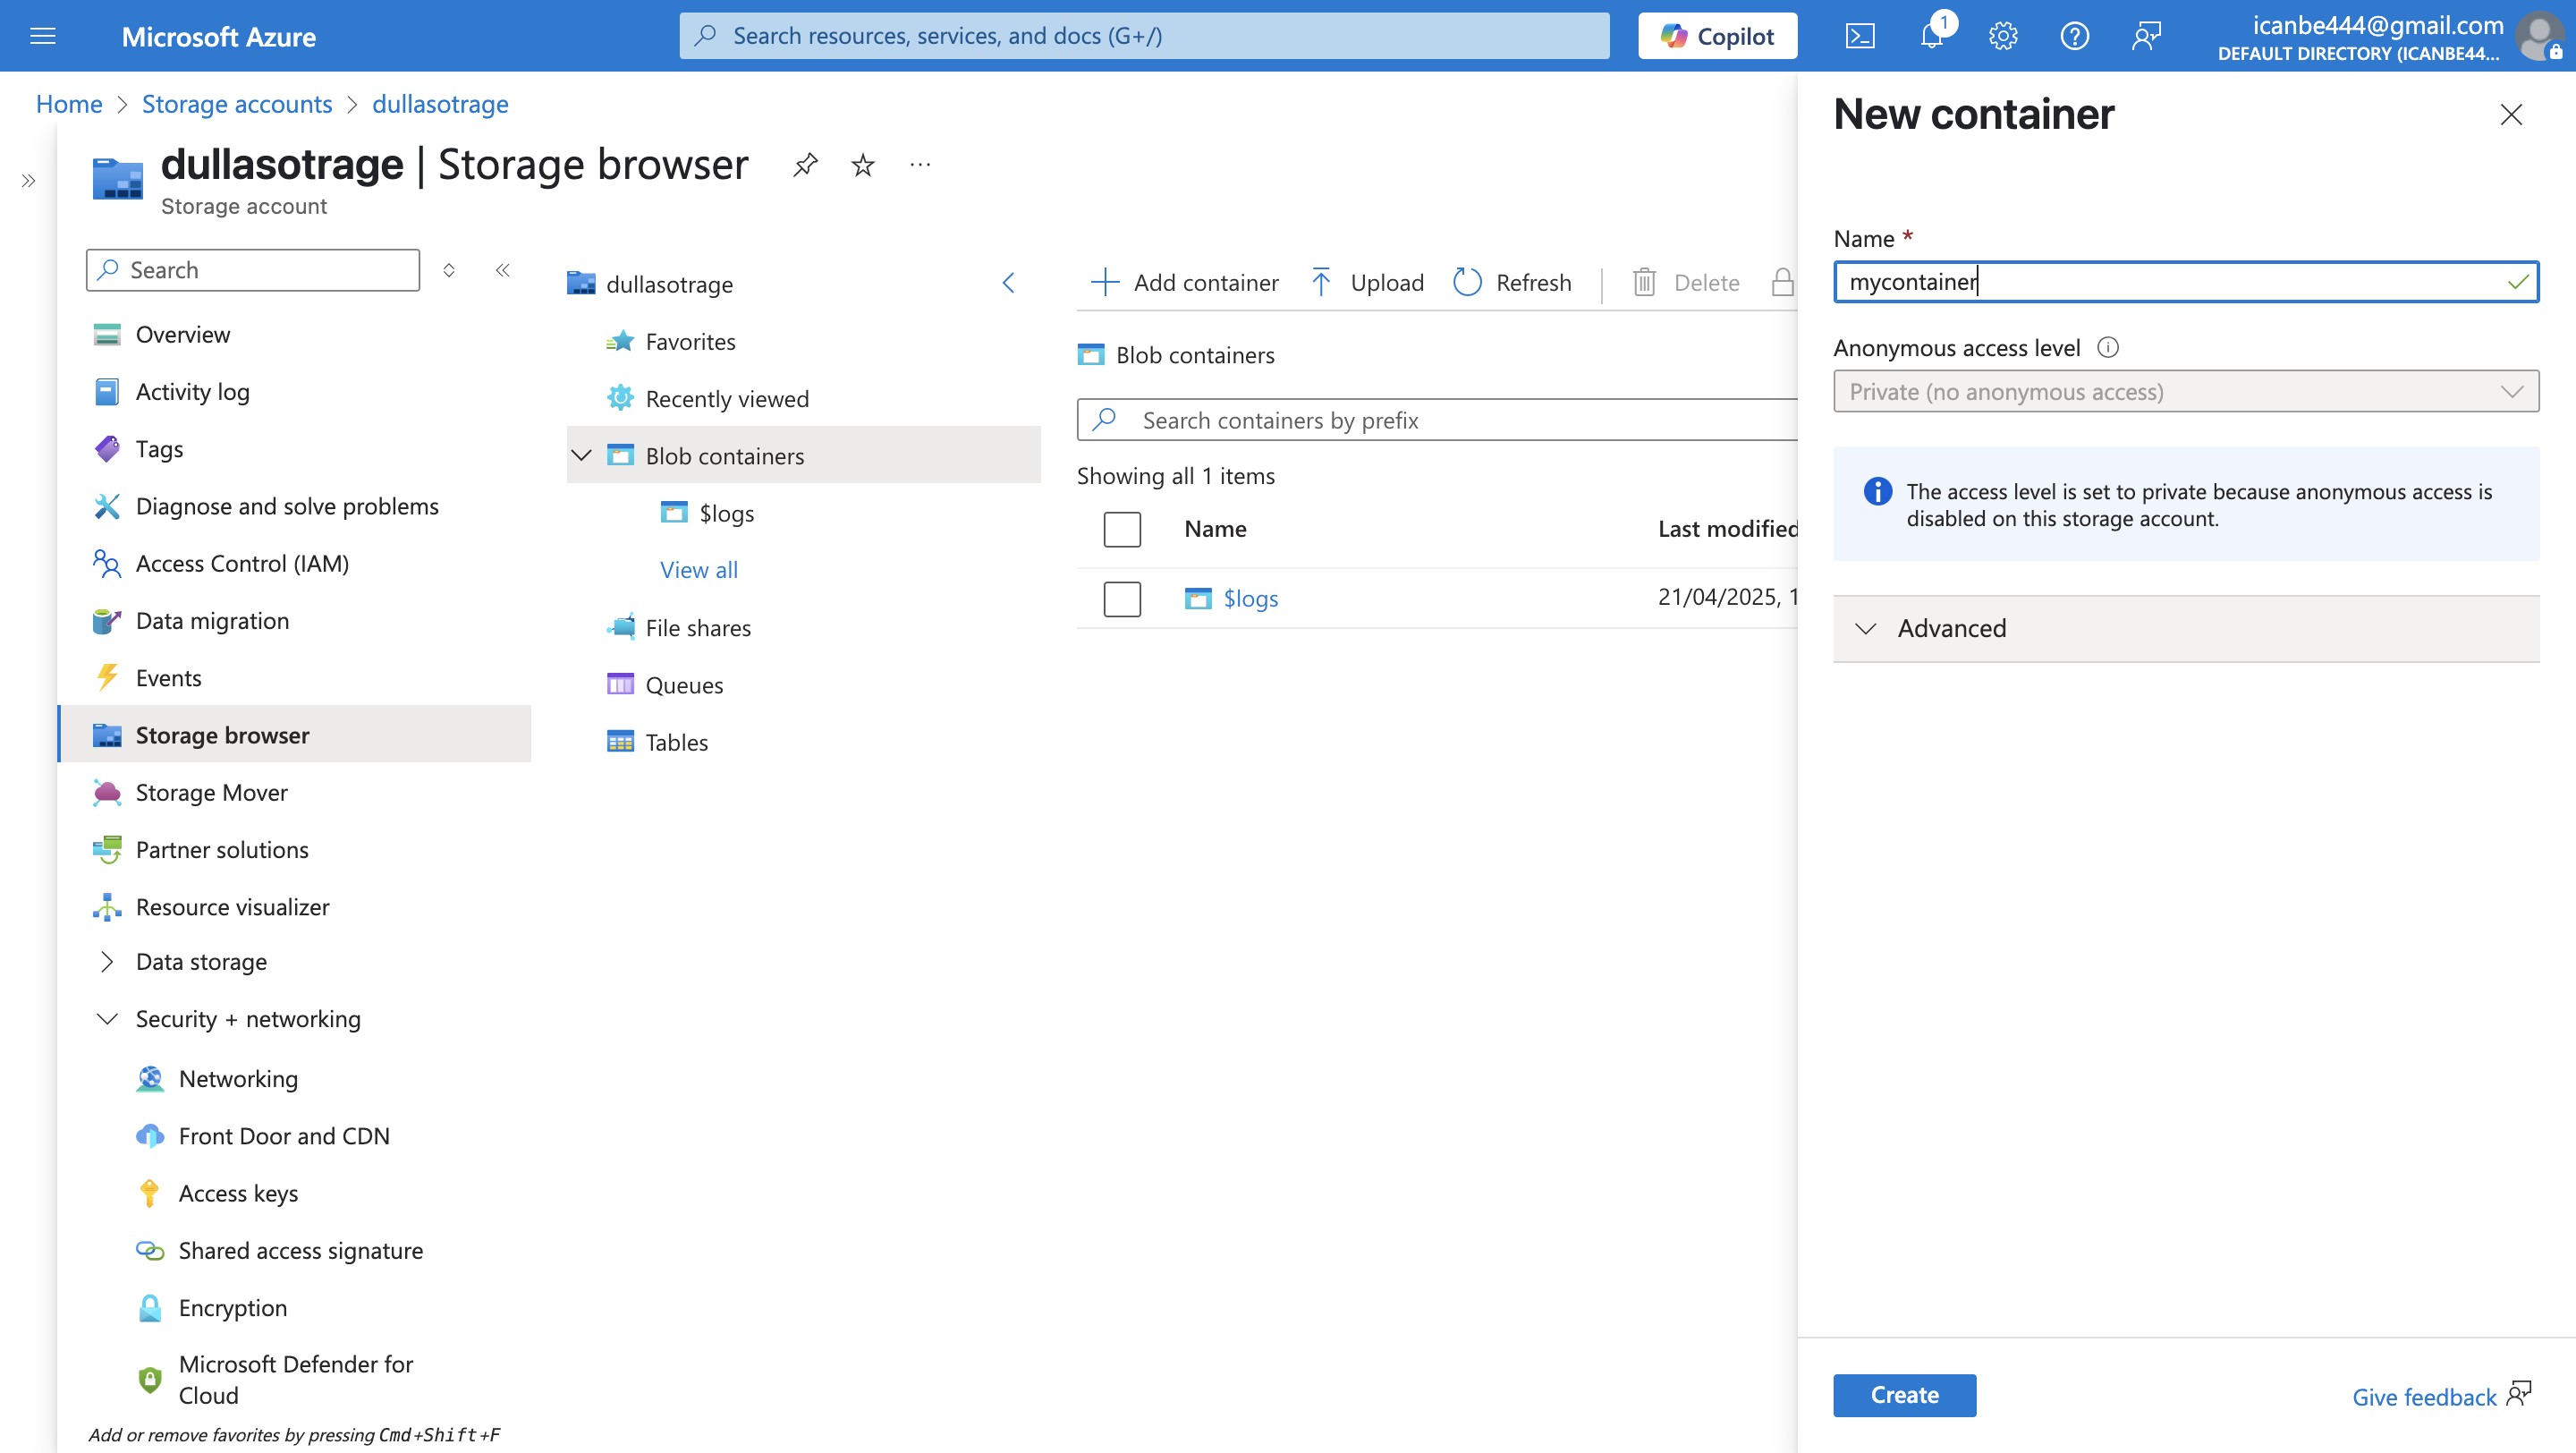
- Upload file to see how this works
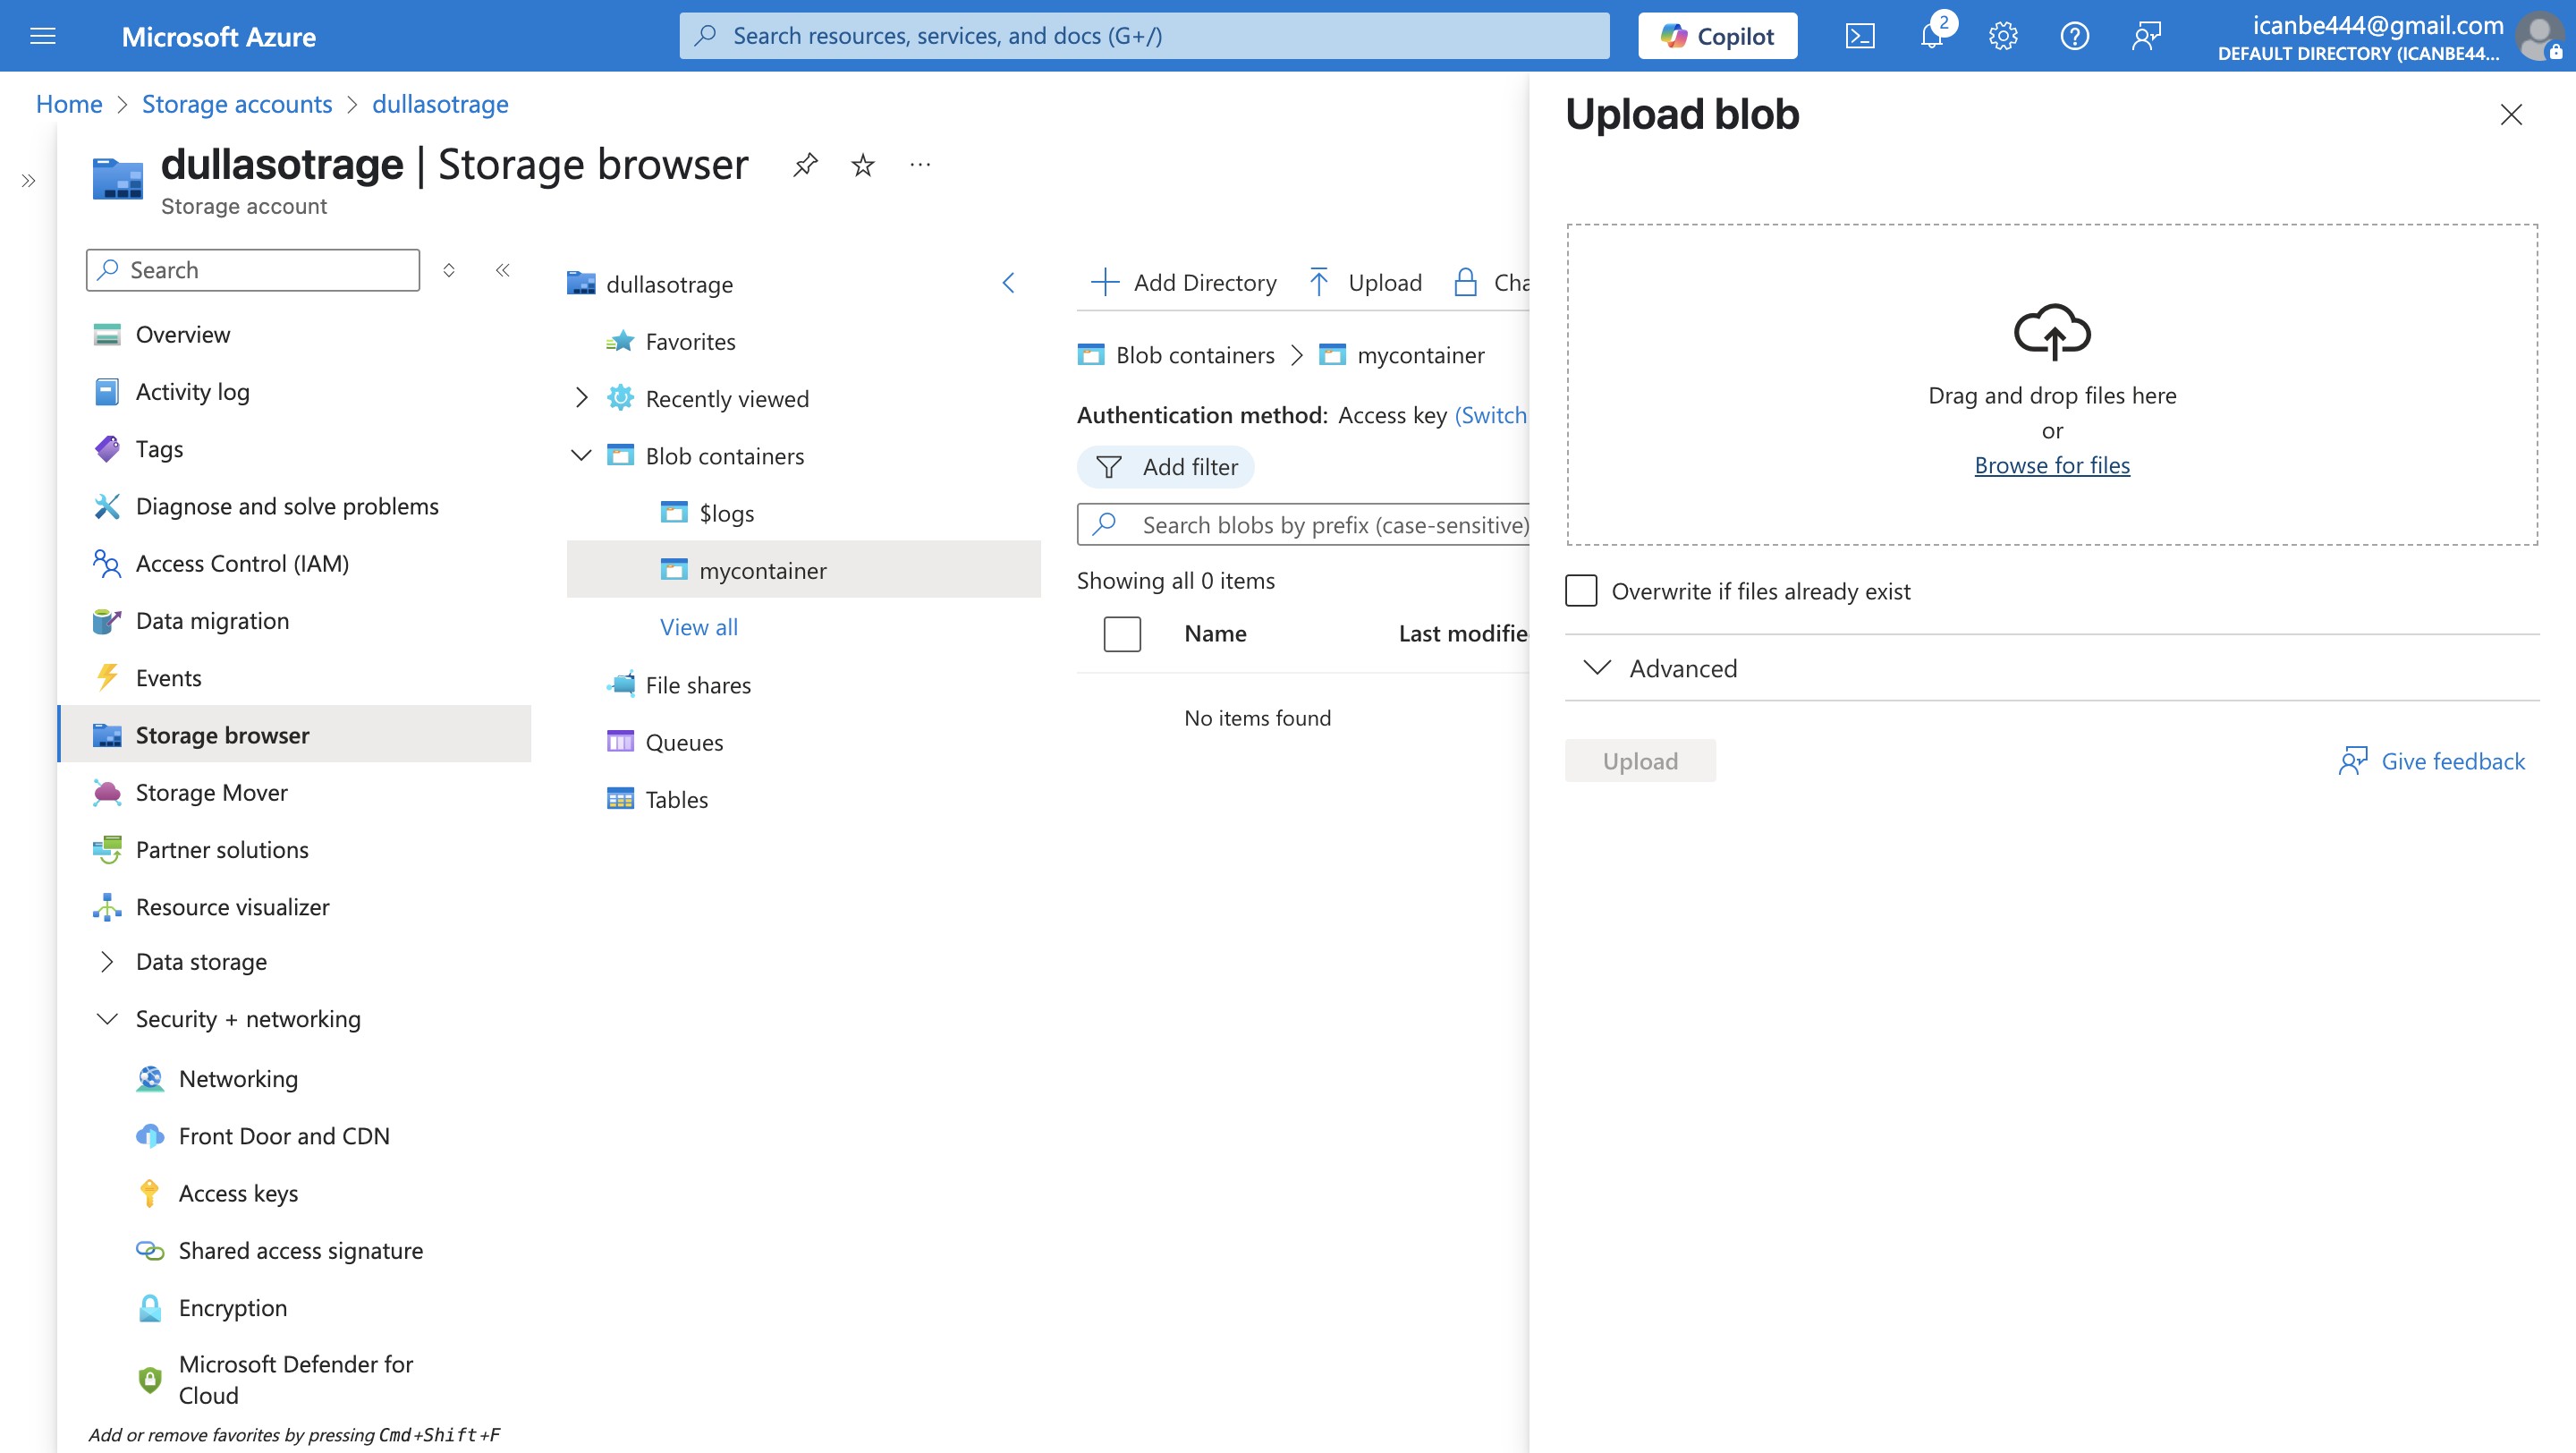
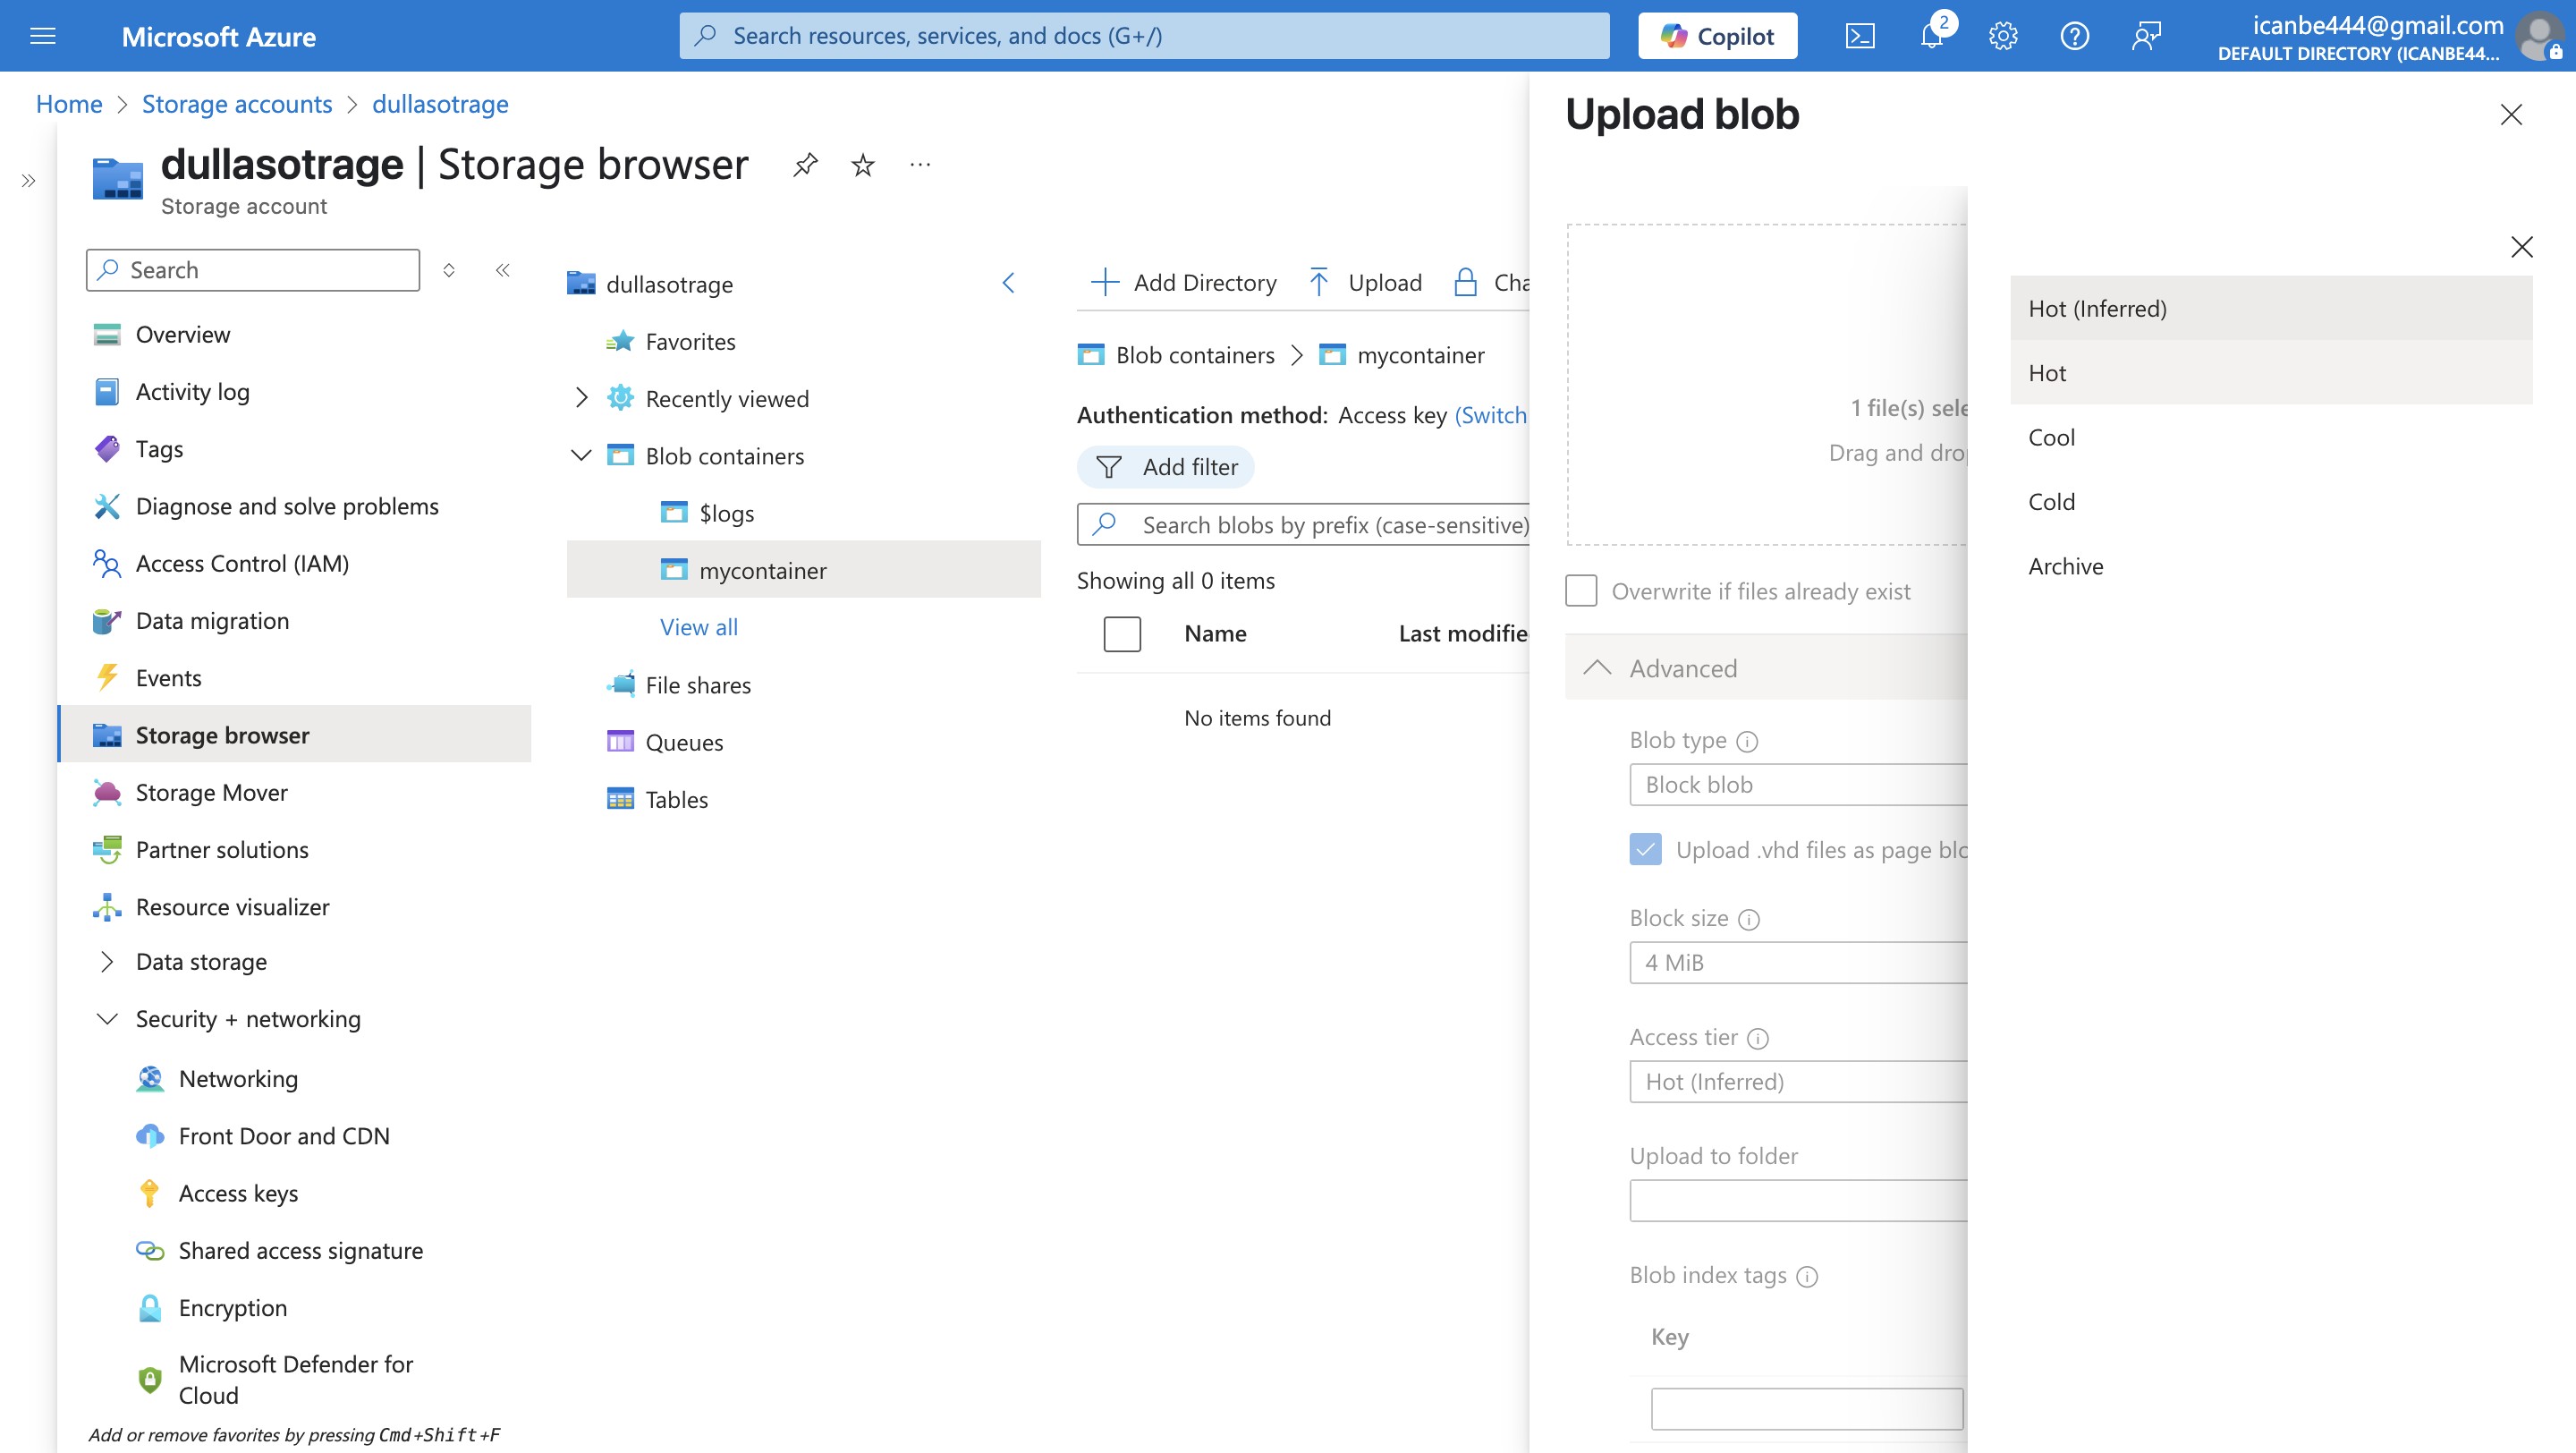
- While uploading files into your containers, you have four options (Hot, Cool, Cold, Archive). By default, the hot is selected and what it means is that your file is available immediately you need it. The archive is used for files that are kept away for a while. These files wont be accessed at any time. This file types is used to save cost on files that are not needed at the moment.
Next Steps
Now that we have:
✅ Azure SQL Database with sample data
✅ Blob Storage Container
In Part 2, we’ll:
- Set up Azure Data Factory (ADF)
- Create a pipeline to ingest SQL data into Blob Storage
- Automate the ETL process
Stay tuned!
Part II (Azure Data Factory (ADF)
 The Story Your path to the story

